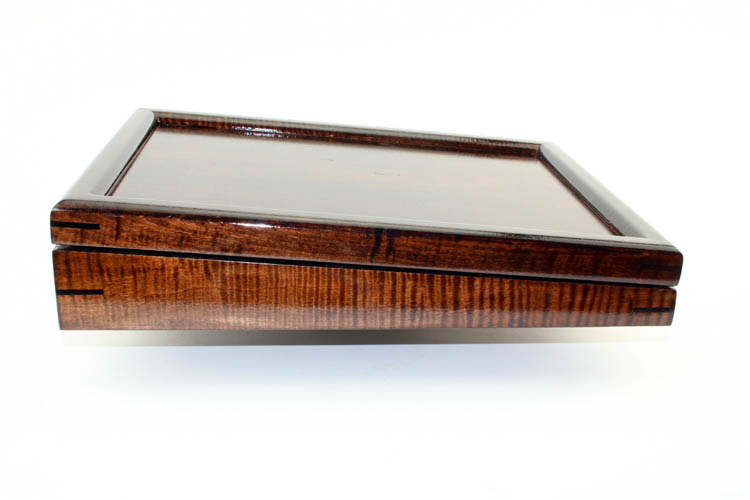
LETTER WRITING BOXMy bride a while back
asked me to make her a letter writing box, of which I did an internet search
and observed some letter writing boxes and/or reproductions of the same
dating back a century or more.
They primarily had a two compartment type construction with the one near
the back of the box to contain ink well, writing quills, etc. and underneath the
hinged lid, storage space for writing paper, envelopes, stamps, etc.
My bride also wanted a ledge around the perimeter to keep paper and/or
paper pad from sliding off the lid.
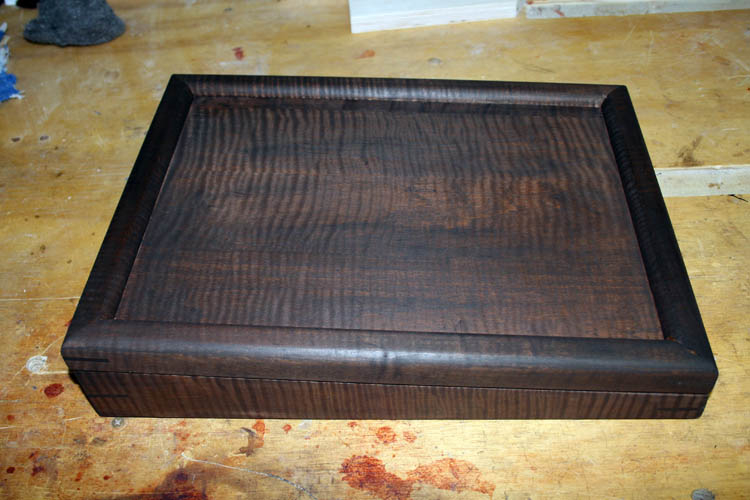
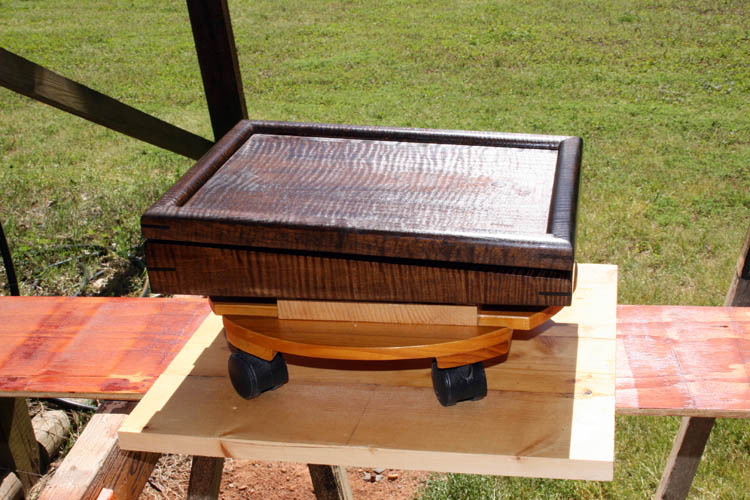
Above pix of the completed letter writing box except for the final
polishing of the lid. The color/hue of the curly maple wood is a good
bit darker than in the pix and guess the flash washed out the color some.
PERSONAL SAFETY AND LIABILITY ISSUES
My goal will be to keep
Safety paramount because hand and power tools can
do serious bodily harm and death if not used properly, therefore these pages
are solely for entertainment purposes only from a personal
liability standpoint. Please read the
Legal Stuff
page for additional information concerning liability issues before going
any further. Safety glasses and hearing protection is a must although
I do forgo the hearing protection many times; my bad!
DESIGN IDEAS
I decided to design a simple letter writing box without the rear compartment
that would hinge at the rear and the base height would taper from two (2) inches to
one (1) inch at the front with the length 14.25 inches x 9.75 inches in
width x 1 inch stock thickness. The lid frame for the letter writing box
would be one (1) inch thick with the same outside measurements as the base and have
a recessed panel of curly maple about .298 inches thickness.
The corners would be forty-five (45) degree miters and dowels and/or splines
added to the corners for strength and "curb appeal."
This was a project that I did not fully think ahead and ended up doing it
the hard way; in other words, "Working harder not smarter" as I will try and
explain as I add pixs with narrative comments.
GETTING STARTED
After sorting through some cutoffs aka unallocated wood from the
end table legs, I selected four
pieces about 3 inches wide x .298 inches thick about 18 inches in length and
glued them up using Titebond Ultimate III wood glue and Bessey bar clamps.
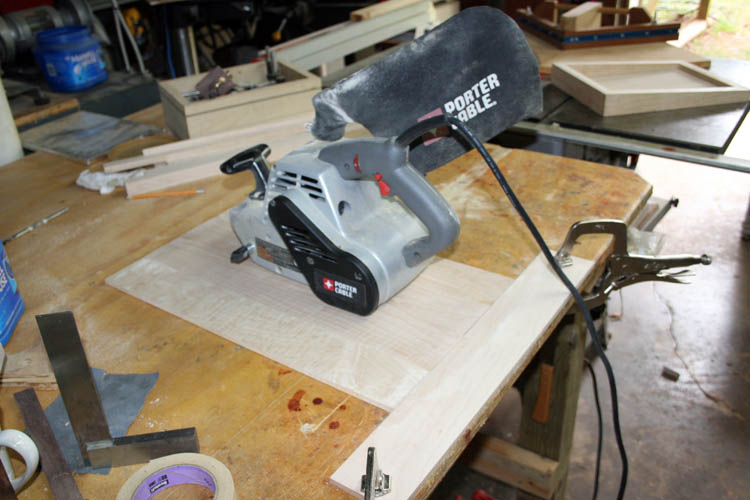
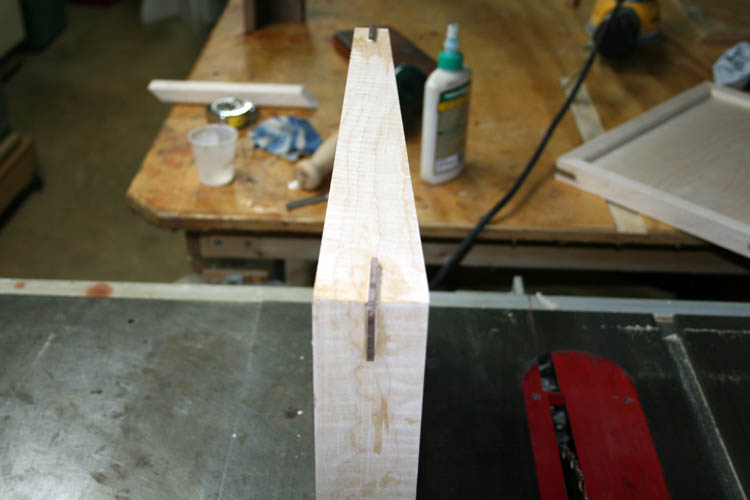
I failed to take a pix of the clamp glue up, but here is a pix of the
curly maple top panel being sanded prior to cutting to the final length and
width.
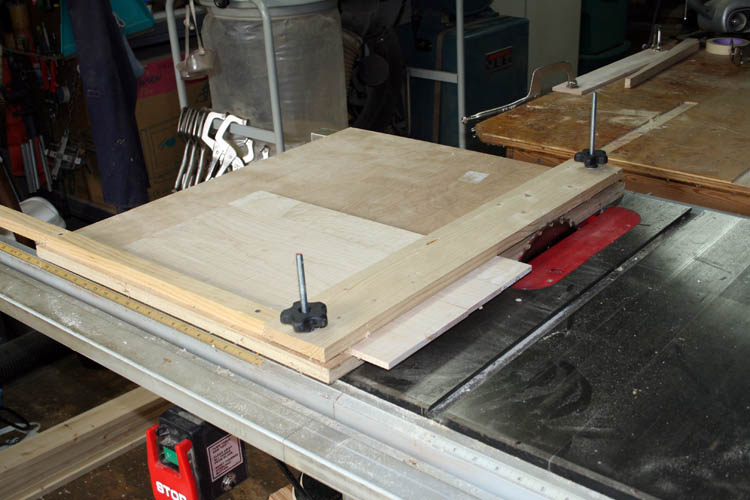
I used the table saw with a sled to cut the taper for the side frame
members and the top insert.
Yesterday was one of those days that seemingly everything either went
wrong or had to struggle to stay on track........grin if you must. I
routed a rabbit slot in each inside member to accept a piece of walnut
plywood that was around .200 inches in thickness.
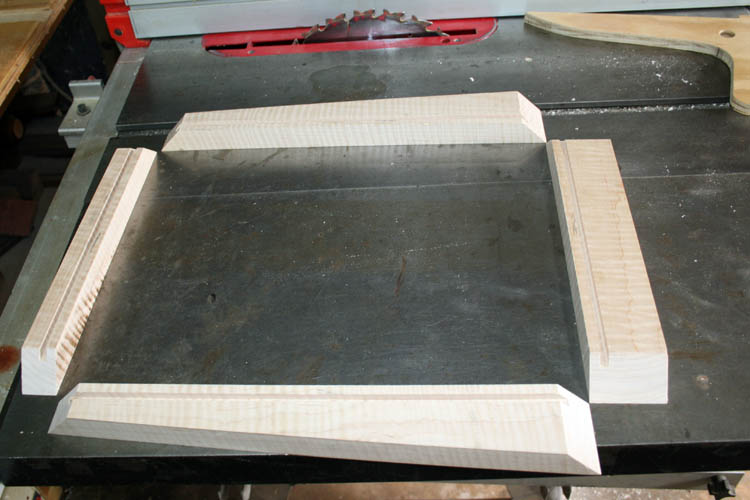
As stated earlier, with the tapered side members, making a forty-five
(45) degree miter cut, I had to use the wedge (scrap piece) of wood
underneath the side frame members to get the proper angle cut for a ninety
(90) degree vertical compound miter joint.

Also, I would have been better off to make the base and top lid together
as a single unit and then simply saw the top lid loose from the base as I
did with the secretary
boxes......my
bad on this one for sure!
I used 1/4 inch diameter dowels for the mitered corners and used my dowel
jig manufactured by
Dowelmax in Canada.
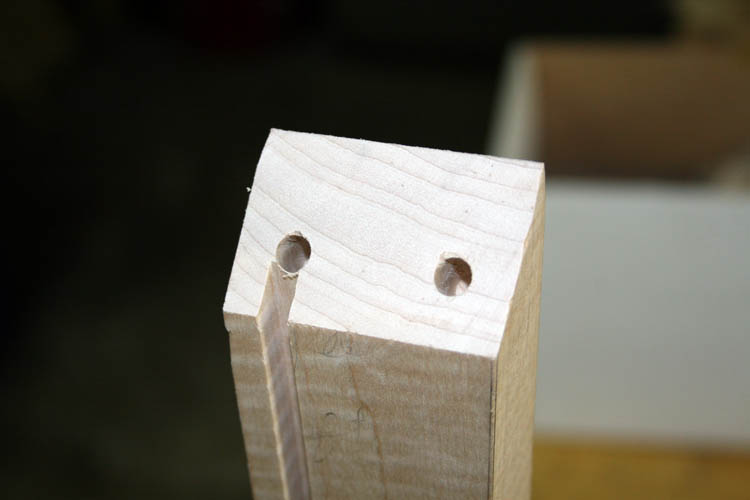
The
Dowelmax drill jig does an excellent job when you need dowels
instead of biscuits, etc.

The Dowelmax jig comes with spacers for various thickness materials.
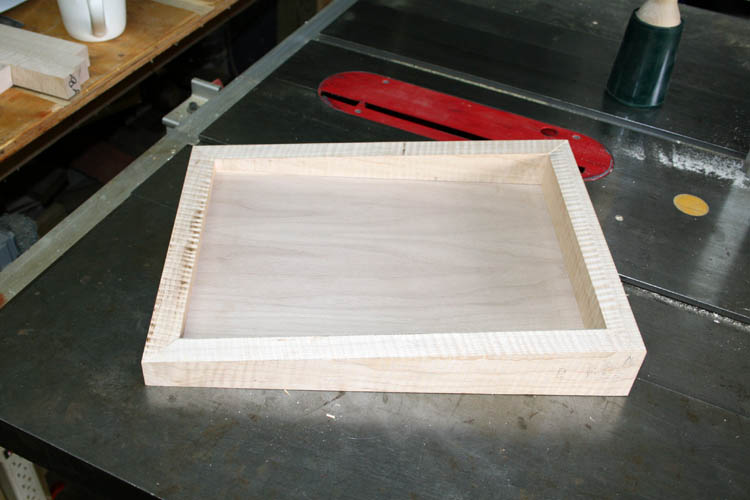
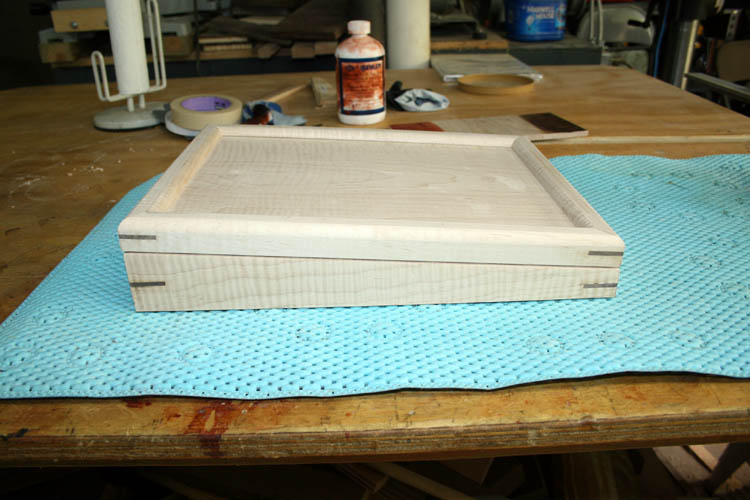
The above base is ready for finish sanding and staining.
I prefer using Behlen medium walnut stain, but didn't have enough on hand and
no one on the internet has the product in stock. I ordered a similar
product manufactured by Mohawk which should be here in a few days.
I used a .250" width 4-blade carbide tipped slotting cutter in the table
router to make the rabbits in the lid frame
members and did a double pass increasing the rabbit width to a little over
.298 inches for the lid insert panel thickness.
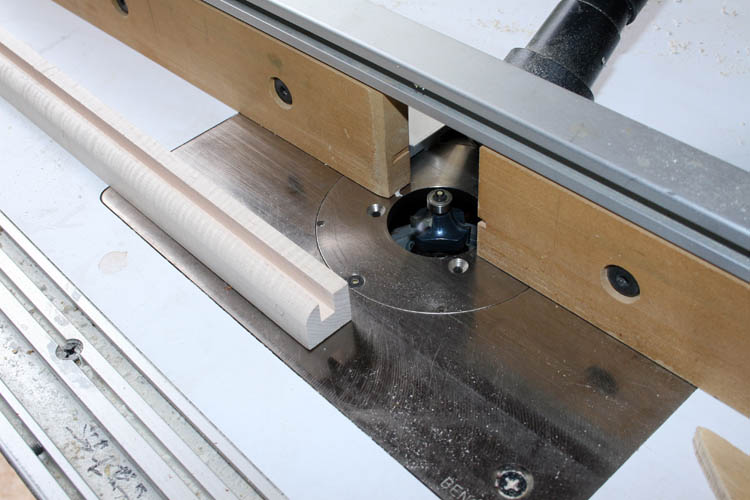
The rabbit was about .5 inches in depth and then used the custom made
forty-five (45) degree miter sled to cut the angles. I had to use the
tapered scrap wedge to get the proper angle to match the base.
Installed in the table router is a 1/2" radius round over carbide tipped
bit.
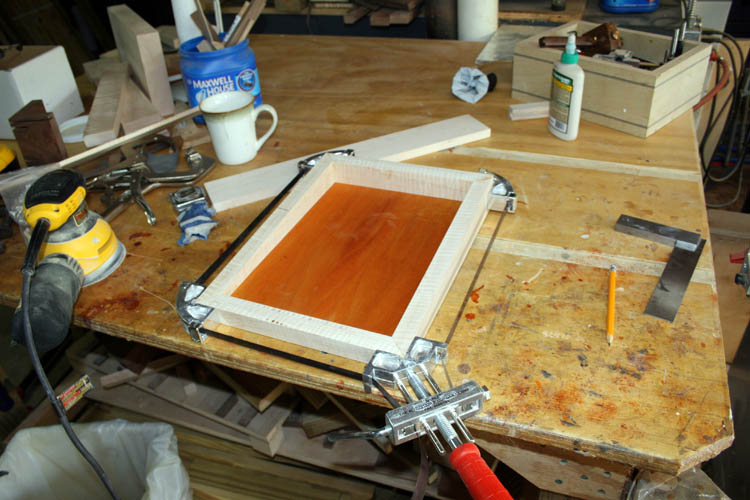
GLUE UP
With all the pieces dry fitted together, I used a band clamp to pull the
corners together.
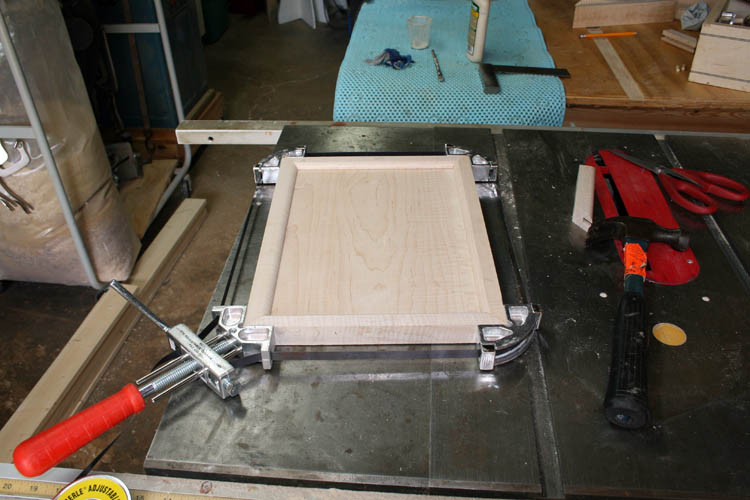
I stained the bottom panel prior to glue up using the Behlen medium
walnut which is more reddish in color.
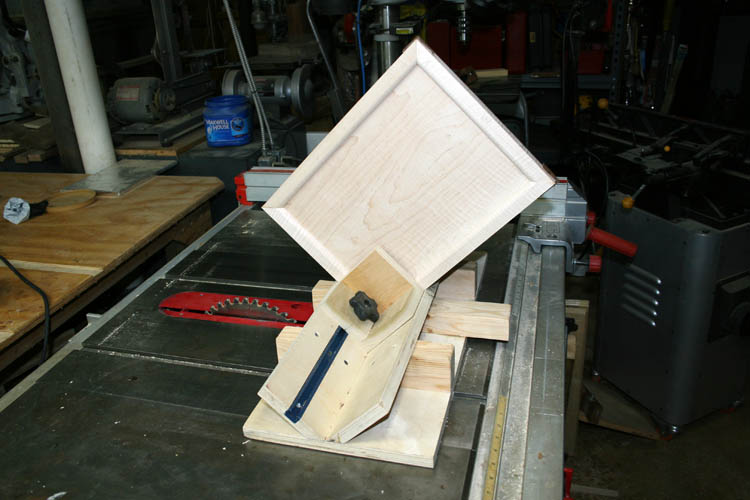
SPLINES INSTALLED IN THE CORNERS
After the glue dried overnight 03-30-2020, it was time to install walnut
splines in the corners. I had a piece of walnut material left over
from another project which was around .135 inches thick which matches my
crosscut saw blade cut.
The spline cutting jig was used with the crosscut saw blade (.135) inches
in width and cut splines in the corners.
I had to rip a thin strip .135 inches +- from a piece of scrap aka
unallocated walnut molding using the table saw. I changed the blade to the
thin kerf rip saw blade and used a home made tool to replicate nearly
identical width cuts. I like the thin sawed material to be on the side
away from the table saw fence for increased safety.
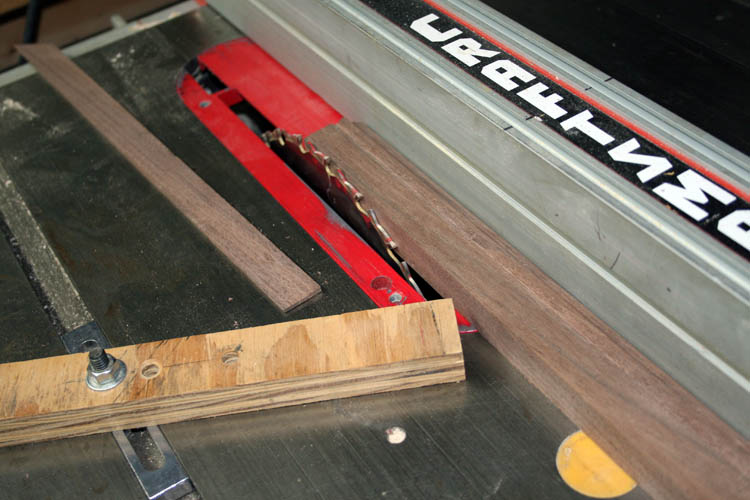
With the width jig in place and properly adjusted to the stock thickness
required, all you do is slide the table saw fence each time a cut is
completed against the stop that is behind the saw blade. You can get
precision cuts without sacrificing personal safety in my humble opinion.
It is best to use a zero table saw insert to keep the thin strips from
being pulled into the saw base.
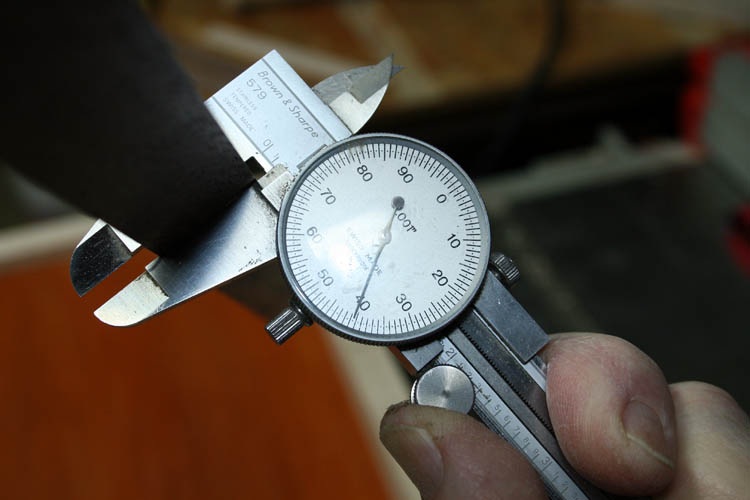
I have the width of the spline at .140 inches and used my 6 x 48 inch belt
sanding machine to remove a few thousands of an inch for a proper fit in the
spline slot.
I will wait until the glue sets and tomorrow, the Lord willing of course,
will trim and/or sand the excess spline material from the base and the lid
and get everything sanded waiting for the stain and the hinge set I ordered.
I didn't want to use a high dollar Brusso pair of solid brass hinges on this box.....too
frugal!
TRIMMED SPLINES AND STARTED SANDING
The glue dried enough to trim the splines and got some sanding done after
I routed a radius around the top and bottom edges except for the back of the
base and top where the hinges will mount. I also routed some relief to
the outside bottom edge of the lid, but again not the back.
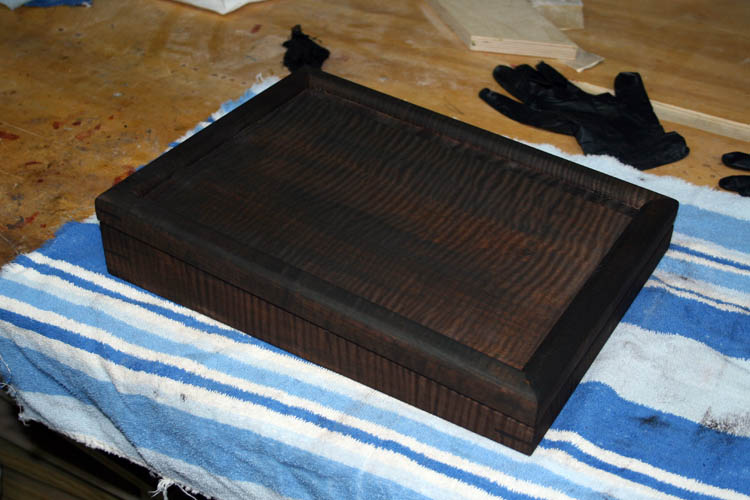
STAINING
While waiting for the hinges to arrive, my bride wanted a dark walnut
stain on the letter writing box and I located some aniline water? based
stain, of which I have had for maybe twenty years when I built my resophonic
guitar......still a pack rate for sure!
I figured I could get away with using only one rubber glove and now I
have ebonized looking fingers on my left hand.....grin if you must.
Tried Mineral Spirits, Naphtha and Mohawk lacquer solvent and the lacquer
solvent worked the best, but didn't remove the stain 100 percent!
I need to steel wool the box down since I believe the stain raised the
grain some.
The curly maple grain pattern is beginning to pop out; not bad for
unallocated aka scrap wood.
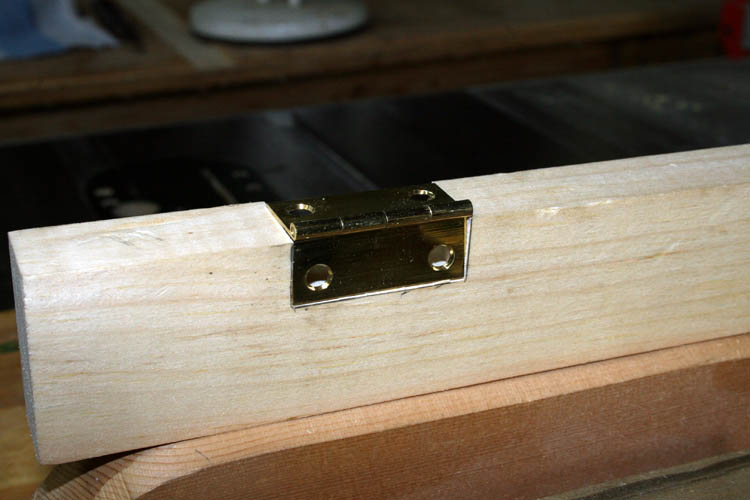
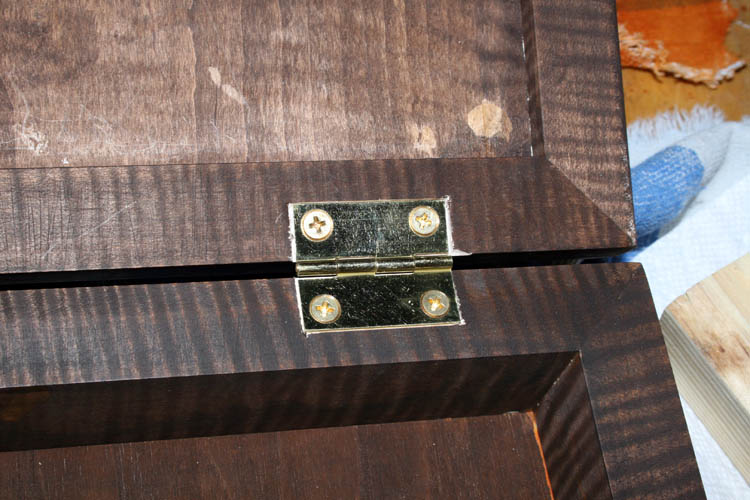
HINGES ARRIVED
The pair of solid brass hinges arrived around mid-day and made a
"flipping story stick" for the
router table which controls the length and width of the mortises in the lid
and the base of the box.
Above flipping story stick mentioned above with the hinge in place and
pencil marked a line around it where stock will be removed on the table saw
and sled. The length of the flipping story stick is the same as the
width of the box and set the hinges 2 inches from the edge of the story
stick. You set the router
table and make the route for both the lid and the base and then flip the
stick over and re-set your router east to west stops for the other hinge.
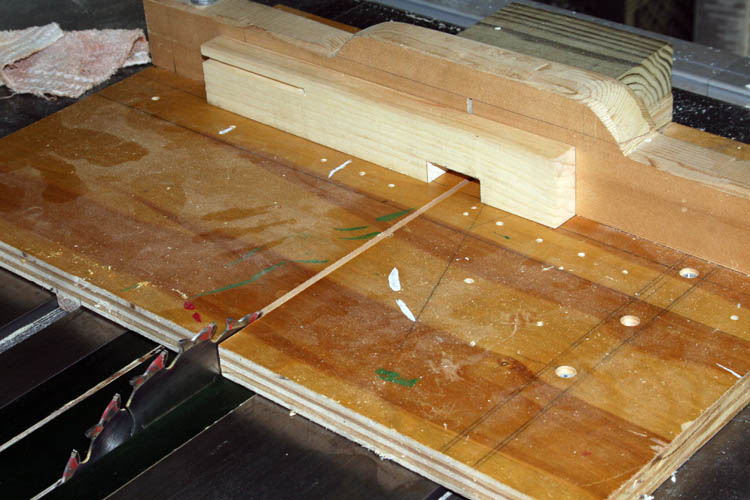
Above pix, I am notching out the actual size of the hinge leaf. This
"stick" will be used to set the router table east to west and the width of
the route. The router depth is set to the thickness of the hinge leaf.
I used a scrap piece of pine wood and the slot in the left side of the stick
has nothing to do with the jig.....grin if you must!
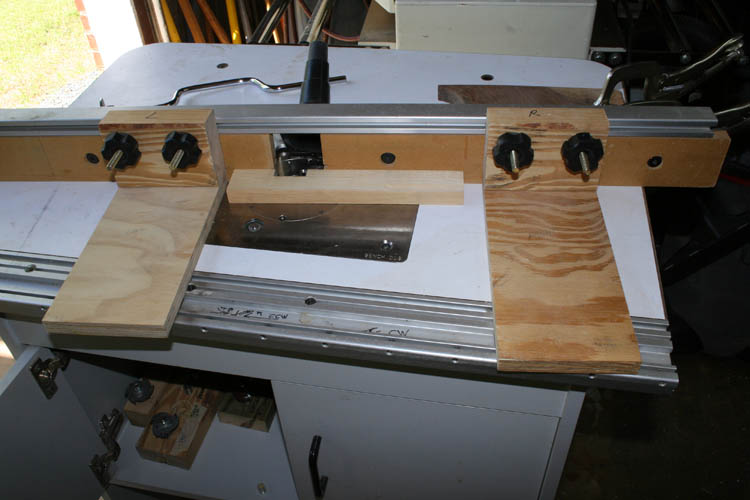
Router table stops set and ready to route the cavity for the hinge leaf.
After routing both the lid and the base for the hinges, I used a
self-centering
drill guide made just for # 5 flat
head screws and the length of the 7/64 inch bit was already adjusted and pre-drill the holes for the hinges. I pre-drilled a hole in some
scrap pine wood and it worked ok. I have used the brass screws that comes
with the imported solid brass hinges and they are junk, meaning they will easily break
off in the wood unless your drilled hole is on the larger size.
I should have known better to use those cheap screws that comes with the
hinges and the first one I used broke below the tapered flat head and wasn't
able to get the screw out. Therefore, I drilled another hole in the
hinge leaf adjacent to one where the screw was broken off in the wood.
I used a 82 degree countersink and opened up all the holes in the hinge leaf
to match the larger # 6 screw which was 1/2 inch in length.
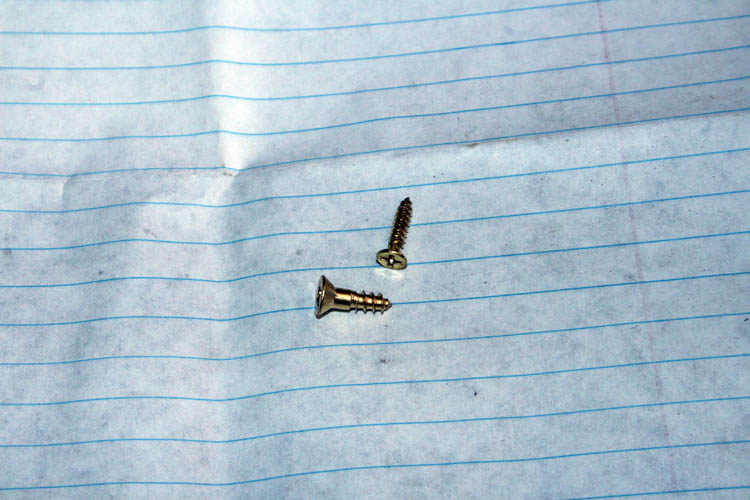
You can see the size comparison of the screws. The upper right is
the screw that came with the brass hinge set from Rockler Woodworking, LLC.
As stated, those screws are junk!
I went back and opened the hinge router flipping jig stick to give me a
little "play" in the hinges and applied a touch up stain to the area after
routing.

You can see the left hinge hole where the screw was broken off in the
wood. Another option would be to drill the screw out and fit a 3/8
inch diameter dowel in the base and re-drill the pilot hole.
FIRST COATS OF LACQUER APPLIED
I have some left over musical grade instrument lacquer and thinned it
down about twenty-five (25) percent to apply several light coats waiting at
least 1 hour between coats.
I sprayed the inside of the box first and let it dry awhile and put a
tapered wedge at the middle of the back inside member and closed the lid to
keep lacquer from sealing the lid to the base.
After several initial coats, I will let the box cure out a few days, buff
it down with a Scotch-Brite pad and then start building up some finish
coats.
The letter writing box will be SN 83.
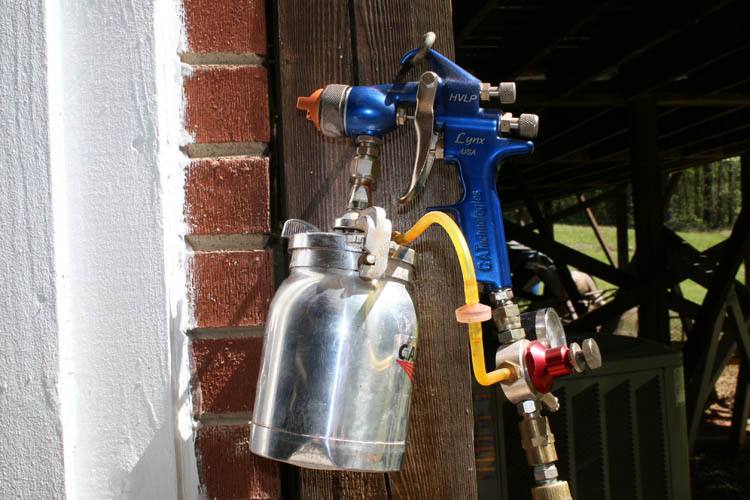
The ole CAT HVLP Lynx model spray gun and pressurized fluid container aka
cup is getting a workout.
Web page created by Bill aka Mickey Porter on 03-31-2020 and updated on
04-02-2020, 04-04-2020 and 04-07-2020.
LEAVING ON A
SPIRITUAL NOTE
If you do not know Jesus Christ as your Lord and Savior, please take
this moment to accept him by Faith into your Life, whereby Salvation
will be attained.
Ephesians 2:8 - 2:9 8 For by grace are ye saved through
faith; and that not of yourselves: [it is] the gift of God: 9 Not of
works, lest any man should boast.
Hebrews 11:1 “Now faith is the substance of things hoped for,
the evidence of things not seen.”
Romans 10:17 “So then faith cometh by hearing, and hearing by
the word of God.”
Open this
link about faith in the King James
Bible.
Romans 10:9 “That if thou shalt confess with thy mouth the
Lord Jesus, and shalt believe in thine heart that God hath raised him
from the dead, thou shalt be saved.”
Open this
link of Bible Verses About Salvation,
King James Version Bible (KJV).
Hebrews 4:12 “For the word of God is quick, and powerful, and
sharper than any two edged sword, piercing even to the dividing asunder
of soul and spirit, and of the joints and marrow, and is a discerner of
the thoughts and intents of the heart.”
Romans 6:23 “For the wages of sin is death; but the gift of
God is eternal life through Jesus Christ our Lord.”
Romans 3:23 “For all have sinned, and come short of the glory
of God;”
Micah 6:8 “He hath shewed thee, O man, what is good; and what
doth the LORD require of thee, but to do justly, and to love mercy, and
to walk humbly with thy God?”
Philippians 4:13 "I can do all things through Christ which
strengtheneth me."