CORNER SPLINE JIGI plan to build some
letter aka secretary boxes based on designs by
Mike's Heirloom Boxes in the near future once I finish the
curly maple end
tables. Normally, those type of boxes do not have the
decorative molding at the lid and the base as my
heirloom boxes. At the moment, the weather has me at bay as far as
finishing the end tables; e.g., final finish sanding, applying stain and the
application of multiple coats of nitrocellulose lacquer. I do my
lacquer finishing with the project(s) outside and need the basement garage
door open with a fan running to get the fine sanding dust particles out of the
woodworking shop. I have a good sawdust collection system for the
larger power equipment and a couple shop vacs for the bandsaw, miter saw and
other smaller hand held equipment.
PERSONAL SAFETY AND LIABILITY ISSUES
My goal will be to keep
Safety paramount because hand and power tools can
do serious bodily harm and death if not used properly, therefore these pages
are solely for entertainment purposes only from a personal
liability standpoint. Please read the
Legal Stuff
page for additional information concerning liability issues before going
any further. Safety glasses and hearing protection is a must although
I do forgo the hearing protection many times; my bad!
RECON AKA RESEARCH
I did some YouTube video views and basically all the corner spline jigs
consist of a V shaped trough to hold the box with a base to support the V
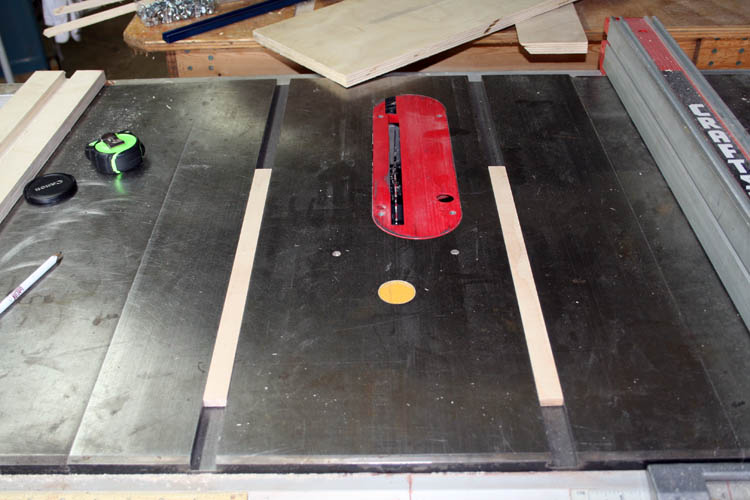
shaped trough. This jig references off the table saw top miter slots
for accuracy of cut. I have a piece of aluminum
miter track that could be used to make a slidable stop for varying the
distance between the spline slots in the project.
I could use dowels and/or biscuits in the box corners, but the
contrasting splines makes a strong joint since end grain wood doesn't prove
a strong joint and the splines are beautiful as well.
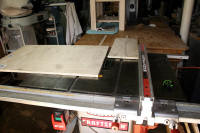
I need to purchase a piece of Birch 3/4 inch plywood 2' x 2' for the base
and the trough and 1" x 4" board for the front and back supports, or might
just use the Birch plywood for the supports.
Web published by Bill aka Mickey Porter on 04-01-19.
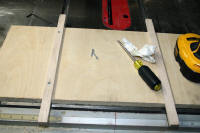
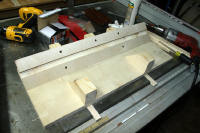
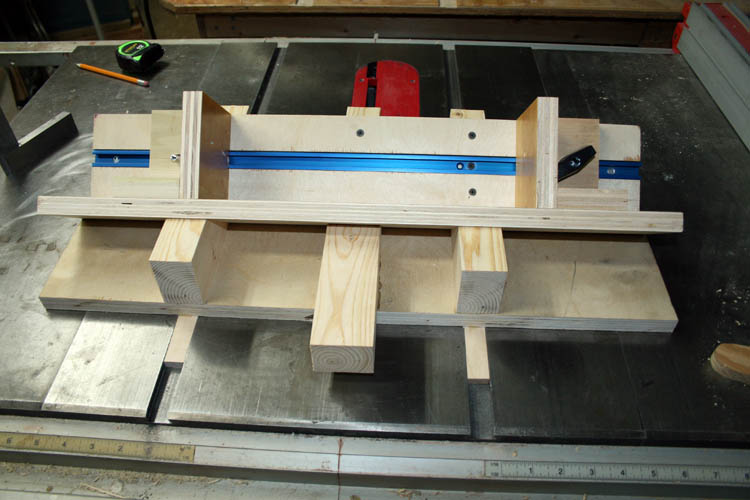
JIG READY FOR TESTING
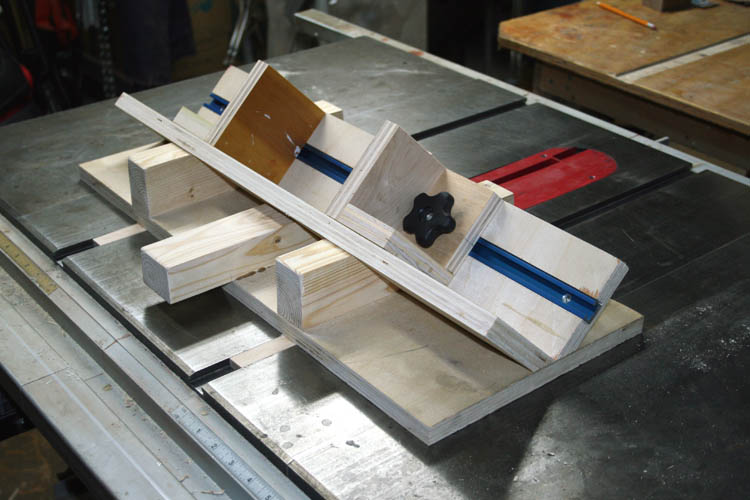
LETS GET STARTED
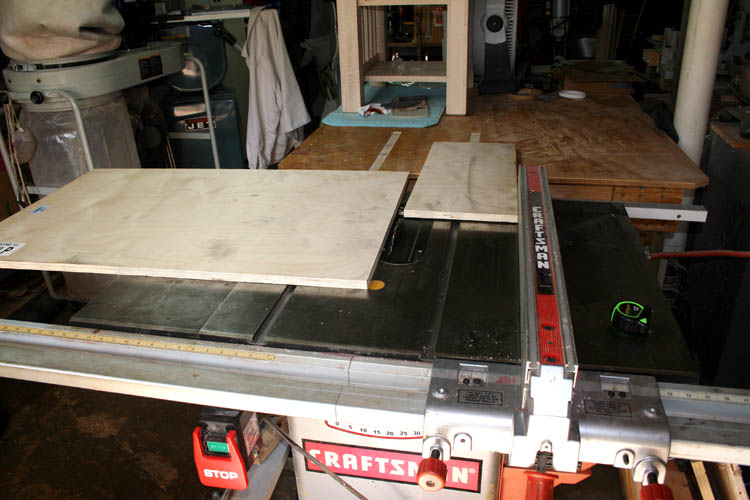
I was at Lowe's in Rockingham, NC on 04-06-19 and purchased a sheet of
3/4 inch x 2'
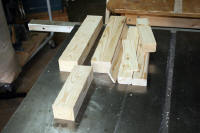
x 4' Birch plywood and a pine framing stud 2" x 4" x 8'. My bride and myself had
lunch at the Pizza Inn and was traveling in our car, therefore I cut the 2 x
4 x 8 pine stuff in half with one of Lowe's handsaws; field tested great too.....grin if you must!
I did have one small glitch as I put a 1 1/4 inch brad nail in the front
and rear of an angle support block in the path of the saw blade and will let the saw
cut it when I run the jig across the table saw with a crosscut saw blade
which no doubt will cause a sharpening fee. I might have
elevated the miter track upward more, however there should be plenty of room for
a spline with the saw blade below the miter track and doubt I will be
splining anything larger than 1 inch thickness stock.
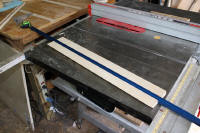
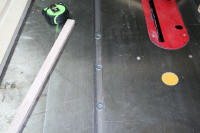
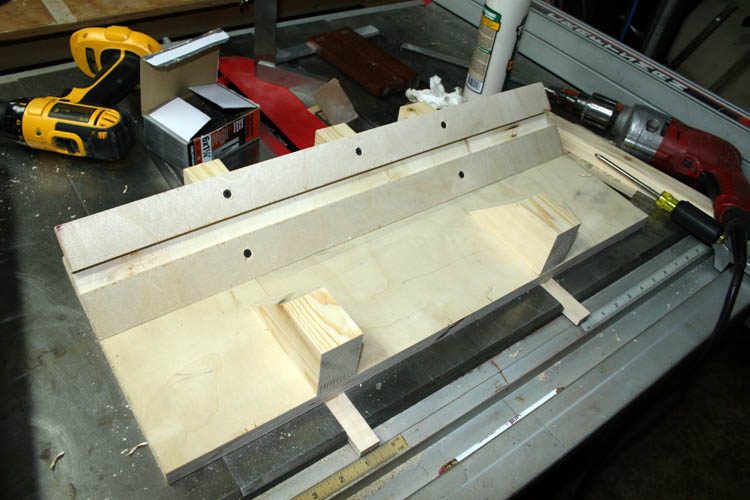
SEQUENCE PIXS TAKEN
Click on the below thumbnail sequence pixs taken for a larger screen
view. The pixs are pretty much self explanatory. Nothing high
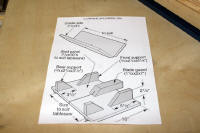
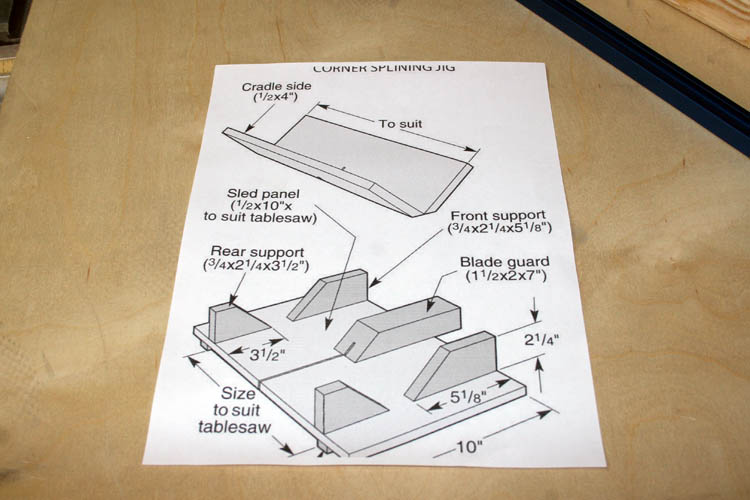
tech at all about making this simple jig. It should be noted that the
jig plans captured from the internet shows 1/2 inch thick plywood, however I used 3/4 inch thick plywood and
the longer front two end braces will need to be shortened about 1/2 inch to
make the ends flush with the edge of the plywood base support member; no big
deal if they aren't flush either.


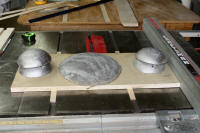


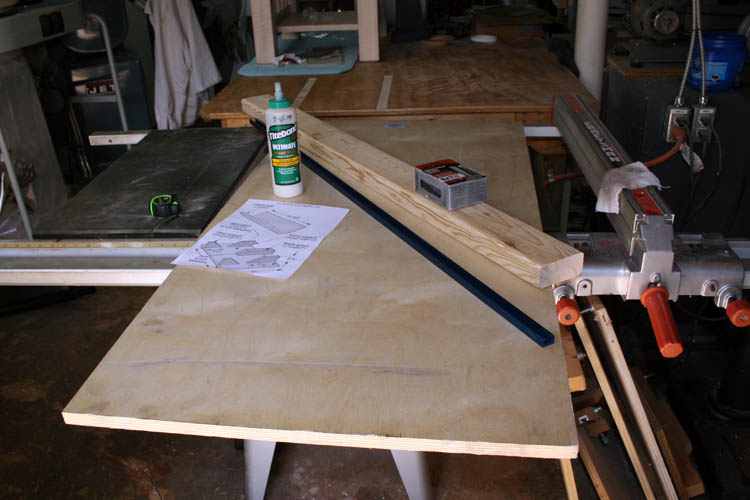
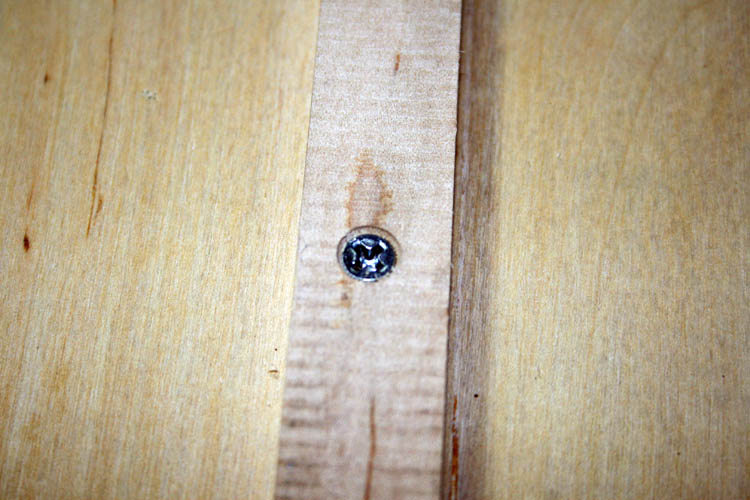
I used mostly coarse thread 1 1/4 inch length dry wall screws for the
majority of
the construction with Titebond Ultimate III wood glue except for short flat head screws for the two table saw
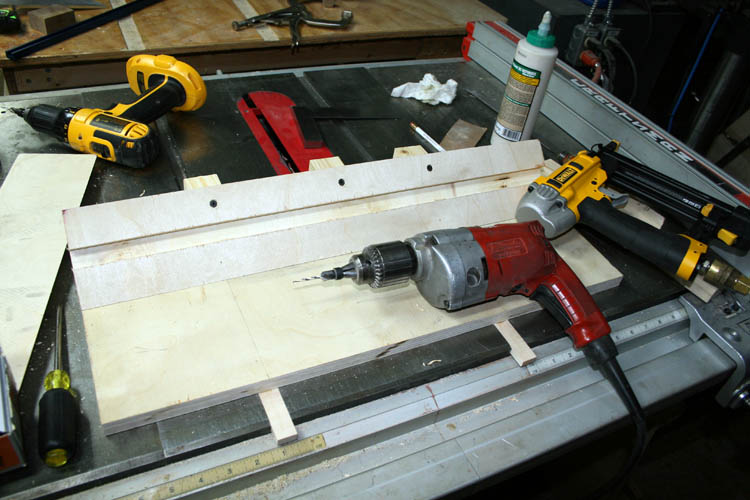
miter runners. I predrilled and countersunk the holes to keep the wood
from slitting, etc. I used several lead weights melted down from reclaimed
wad cutter lead bullets from a DOC firing range in Salemburg, NC that was screened from
the rear berm in early 1979 to hold the base on top of the
runners while the glue dried. I then used a few 18 gauge 1 inch length
brads to make certain nothing moved, since I didn't allow the glue to dry
but a couple hours if that much. I predrilled and countersunk two flat
head screws into each maple runner to the corner spline jig base.
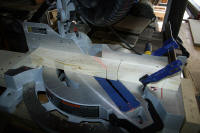
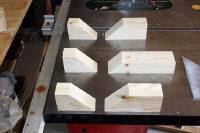
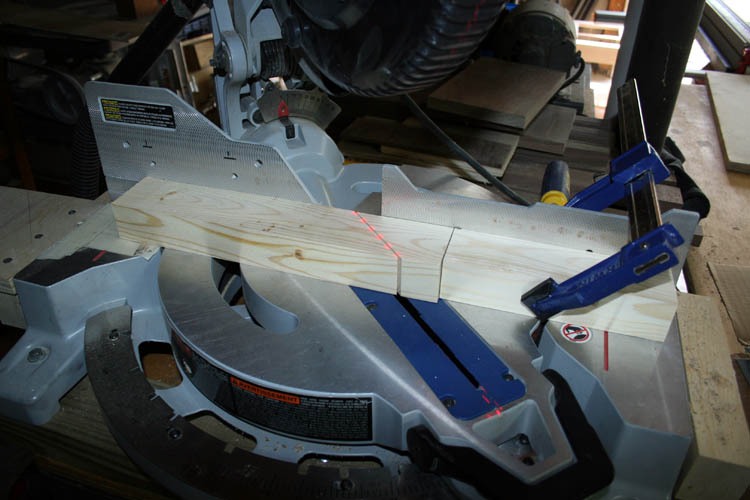
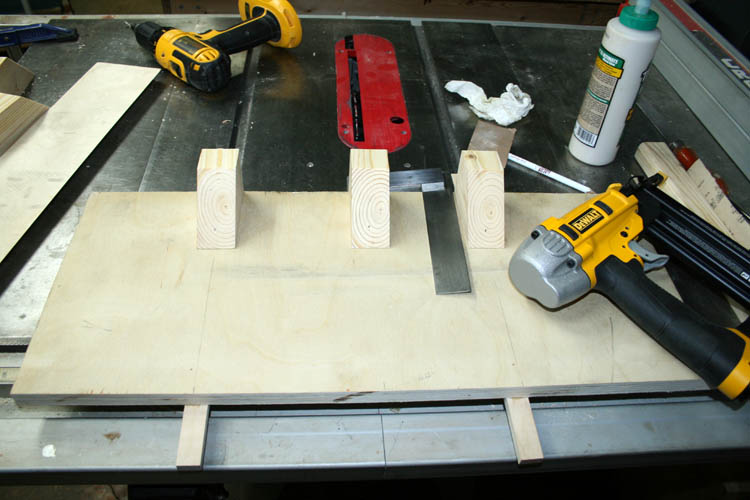
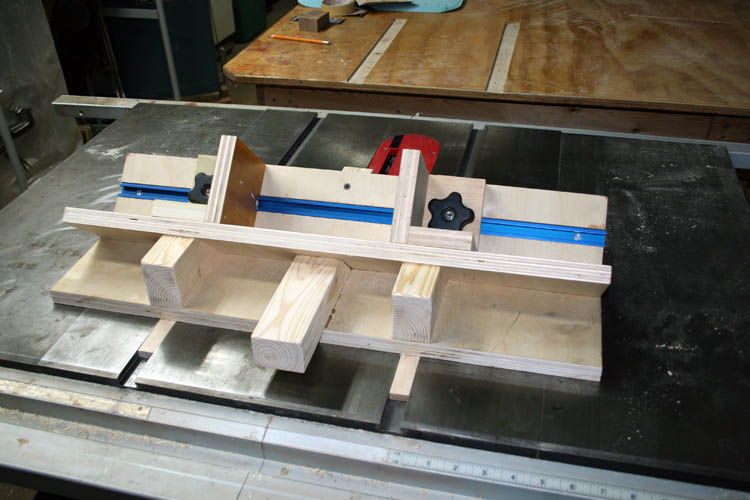
The miter saw was used to cut the forty-five (45) degree angles on the
block supports, of which I used a 2 x 4 instead of 3/4 inch wood as per the
drawing. I know, an overkill for sure which is my normal MO aka
(Modus Operandi.)
I will either purchase another knob with a 5/16 x 18 tpi threaded insert
or rob one off one of the fixtures I am not using, but the next trip to
Lowe's in Rockingham, NC, plan to purchase a few extra threaded knobs.
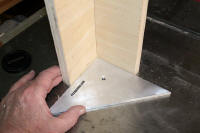
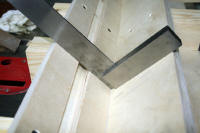
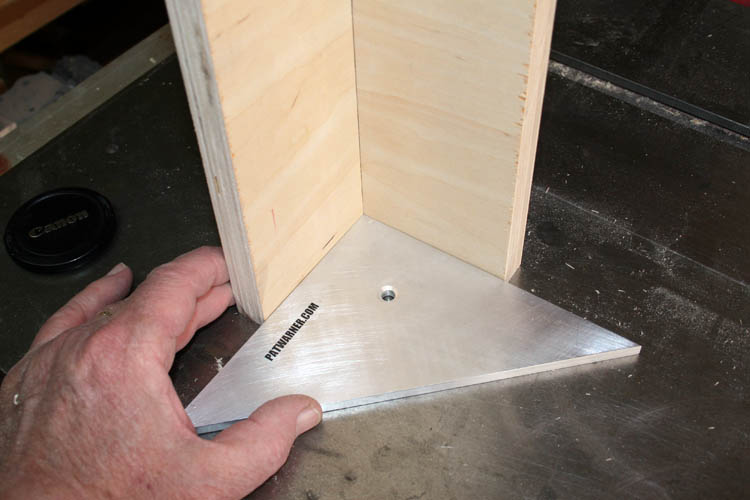
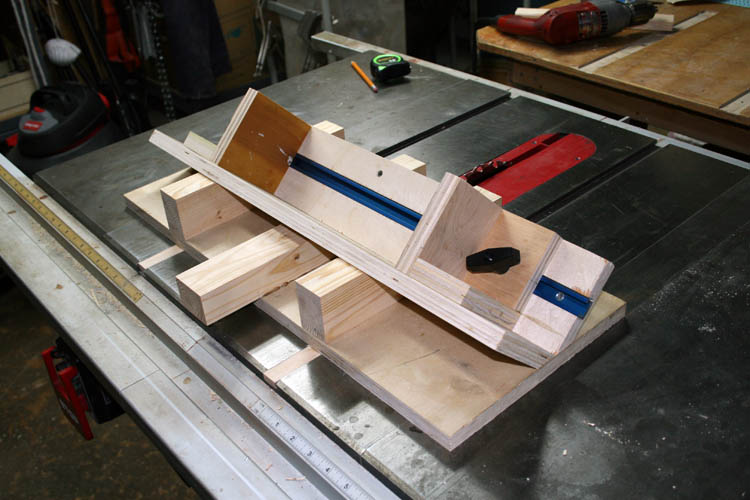
About the only critical area for this simple jig is having your table saw
and miter saw cut a near perfect forty-five (45) degree angle to end up with a ninety
(90) degree angle in the cradle or trough, otherwise you will have to shim the 4 inch wide upper
support members (cradle) that holds your project to cut the corner splines.
It is best to do a few sample test cuts before committing to cutting your
final pieces. I if planned on making much larger boxes with splines, I
would lengthen the width of the cradle members for added support.
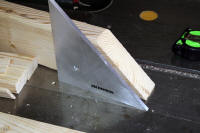
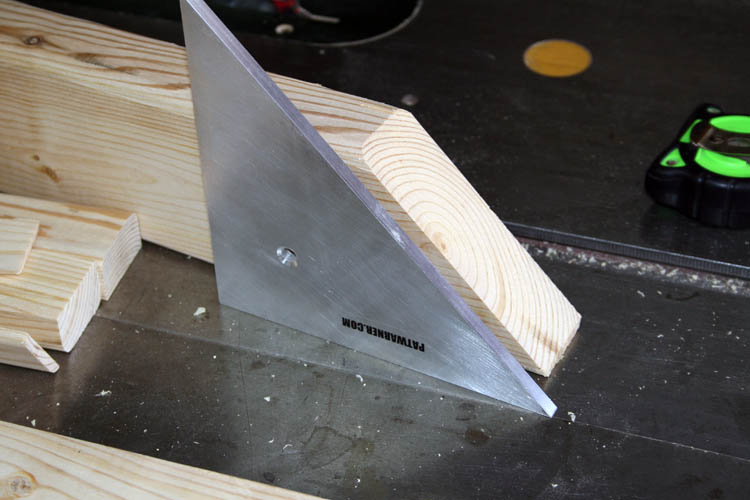
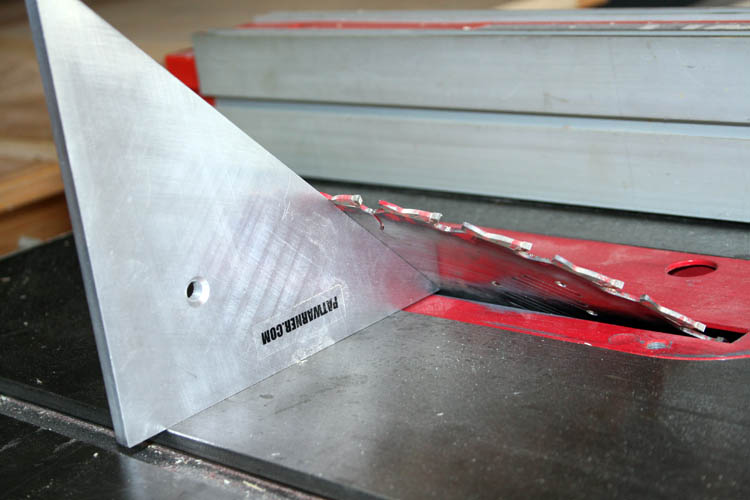
PAT WARNER ALUMINUM RIGHT ANGLE
I used a forty-five (45) degree aluminum right angle made by
Pat Warner,
deceased of Escondido, CA which is very accurate. I also have a
Starrett C359 precision universal bevel vernier protractor with acute angle
for angles other than forty-five degrees. Read my short story above
all squares
are not square!
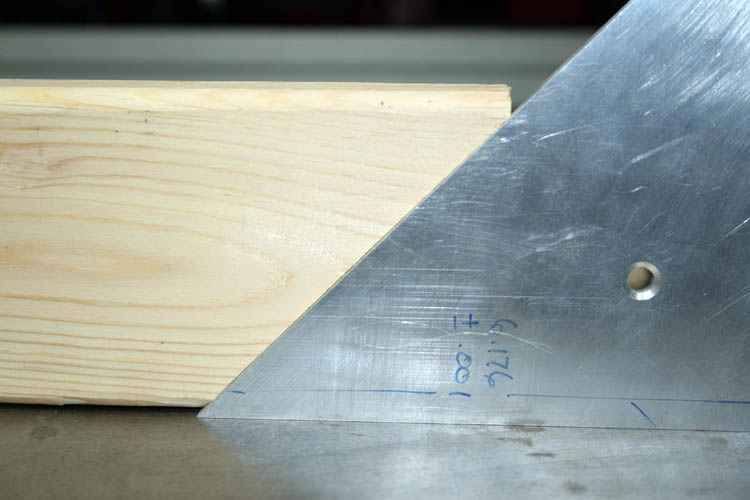
A close-up pix of the right angle in aluminum that I purchased from Pat
Warner. My Delta miter saw is cutting close enough for Govt.
work.....grin if you must!
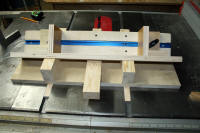
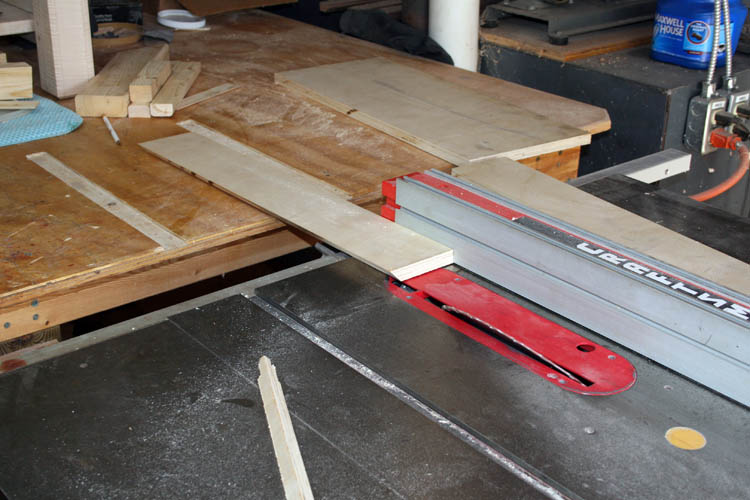
I cut the 3/4 inch wide slot x 3/8 inch deep in one of the cradle aka
trough members on the table saw using
multiple passes instead of setting up a dado saw blade and made book end type end clamps which will
be a plus to secure the box you plan to cut splines into the corners.
Some of the YouTube videos I watched went a little more high tech and added
a ruler on top of one of the cradle aka trough members.
The corner spline jig serial number is SN 70.
Web page updated by Bill aka Mickey Porter on 04-07-19.
LEAVING ON A
SPIRITUAL NOTE
If you do not know Jesus Christ as your Lord and Savior, please take
this moment to accept him by Faith into your Life, whereby Salvation
will be attained.
Ephesians 2:8 - 2:9 8 For by grace are ye saved through
faith; and that not of yourselves: [it is] the gift of God: 9 Not of
works, lest any man should boast.
Hebrews 11:1 “Now faith is the substance of things hoped for,
the evidence of things not seen.”
Romans 10:17 “So then faith cometh by hearing, and hearing by
the word of God.”
Open this
link about faith in the King James
Bible.
Romans 10:9 “That if thou shalt confess with thy mouth the
Lord Jesus, and shalt believe in thine heart that God hath raised him
from the dead, thou shalt be saved.”
Open this
link of Bible Verses About Salvation,
King James Version Bible (KJV).
Hebrews 4:12 “For the word of God is quick, and powerful, and
sharper than any two edged sword, piercing even to the dividing asunder
of soul and spirit, and of the joints and marrow, and is a discerner of
the thoughts and intents of the heart.”
Romans 6:23 “For the wages of sin is death; but the gift of
God is eternal life through Jesus Christ our Lord.”
Romans 3:23 “For all have sinned, and come short of the glory
of God;”
Micah 6:8 “He hath shewed thee, O man, what is good; and what
doth the LORD require of thee, but to do justly, and to love mercy, and
to walk humbly with thy God?”
Philippians 4:13 "I can do all things through Christ which
strengtheneth me."


