TEAK WOOD SECRETARY/LETTER BOXES
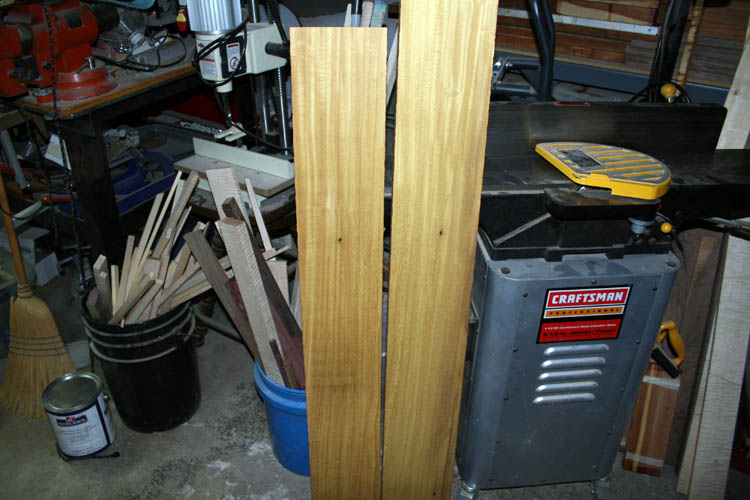
I asked my friend Robert Webster of Hamlet, NC before June 13, 2019 for a
piece of black walnut lumber that would plane down to around 3/4 inch,
whereas he brought a board by our home that was a little over 8 feet in
length, 1 inch in the rough thickness and about 7.5 +- inches in width.
The board had a few large nail holes through it and apparently had been used
for something else in it's former life!
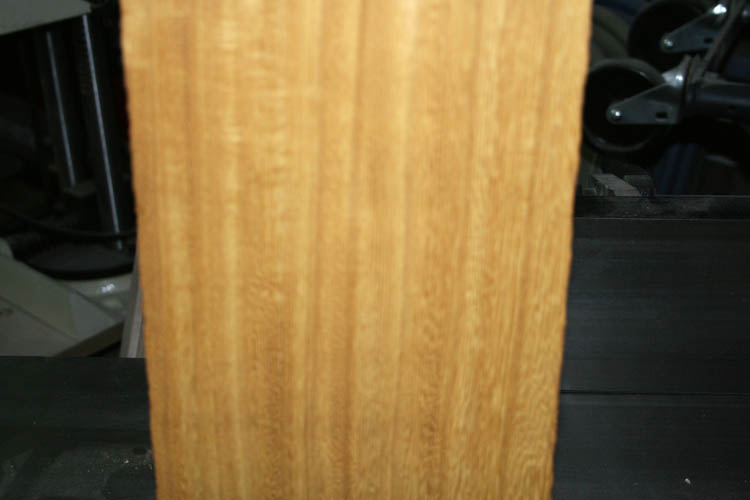
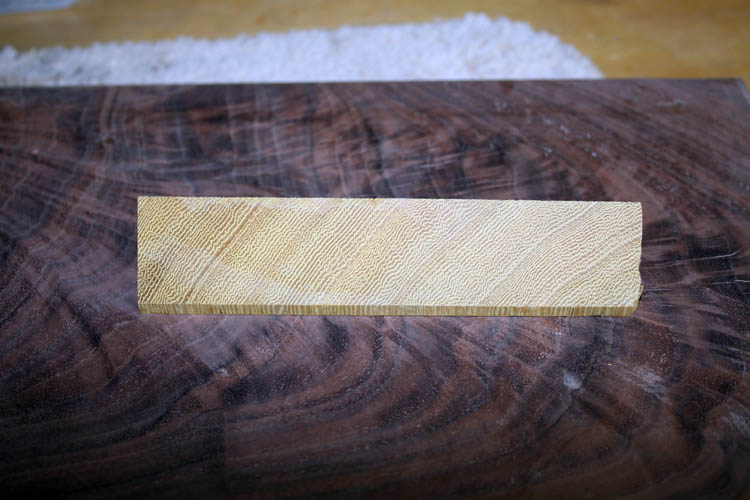
Upon, picking up the board, it was apparent that it was far too heavy and
dense to be black walnut and the side that wasn't exposed to sun light was
too light in color to be walnut, even if black walnut sap wood. The board was
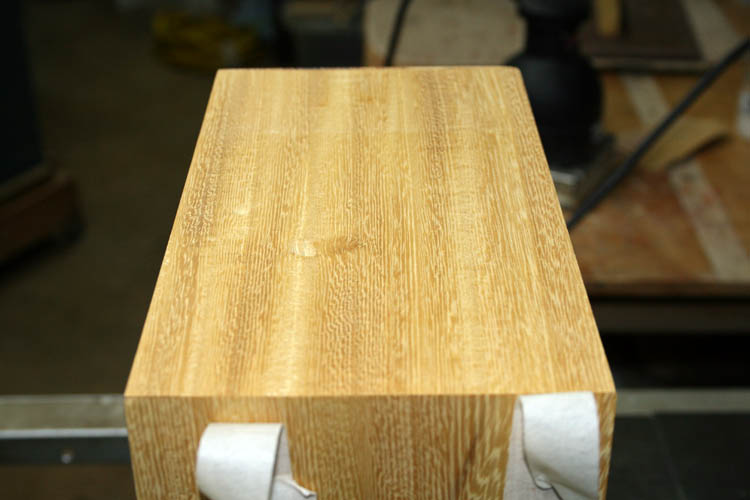
planed to thickness .750 +- inches and very dense tight growth rings at
about a forty-five degree angle with fairly
semi-closed pores in relationship to black walnut; not totally closed grain as in
poplar and maple wood, etc. As I stated earlier, the wood was very heavy and the
color was more yellowish than any black walnut I had ever seen.
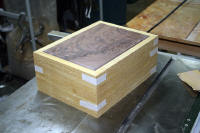
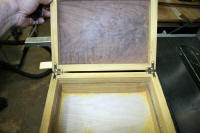
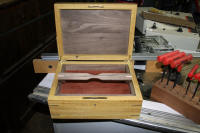
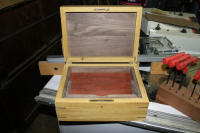
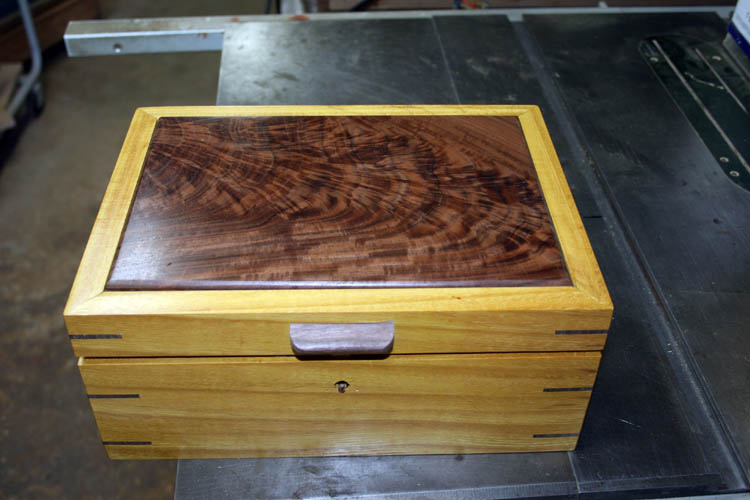
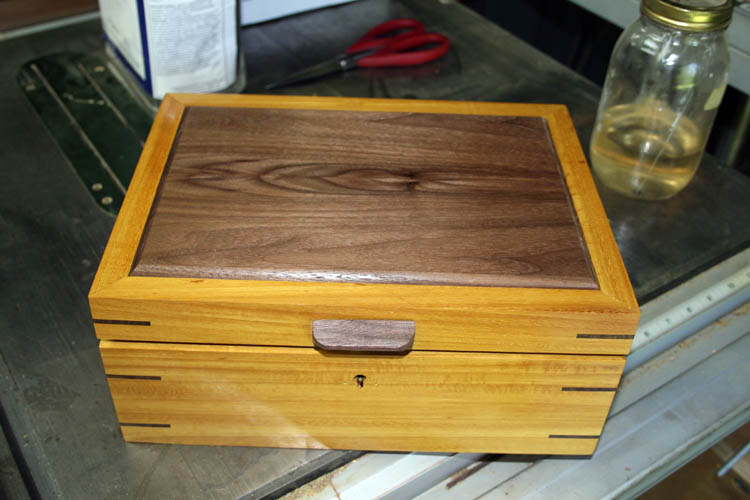
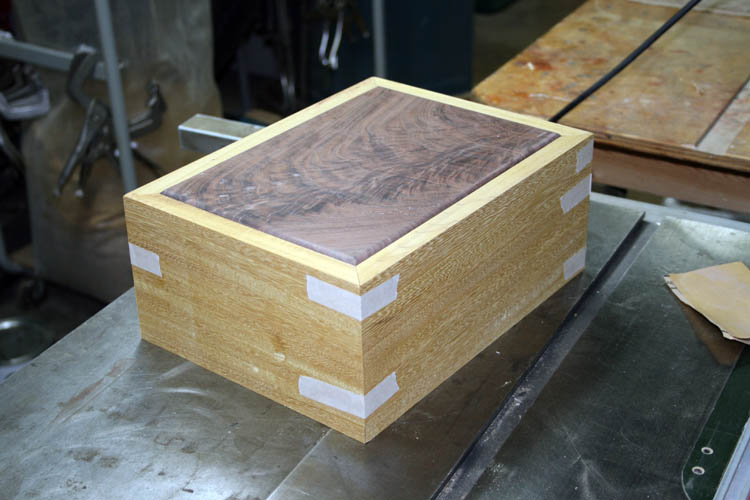
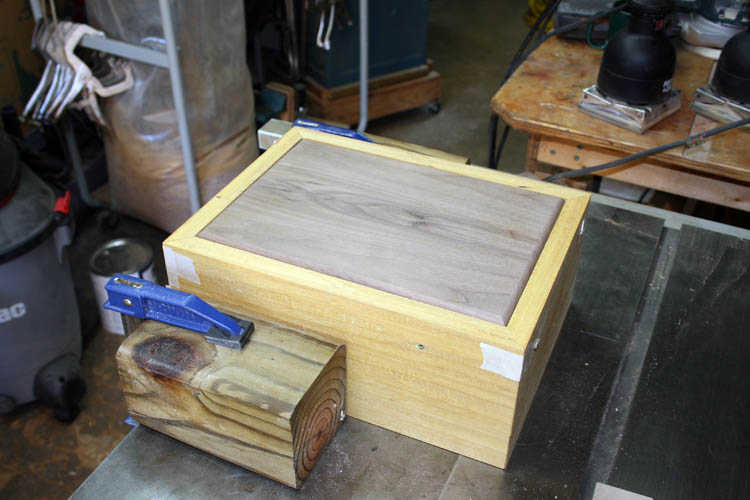
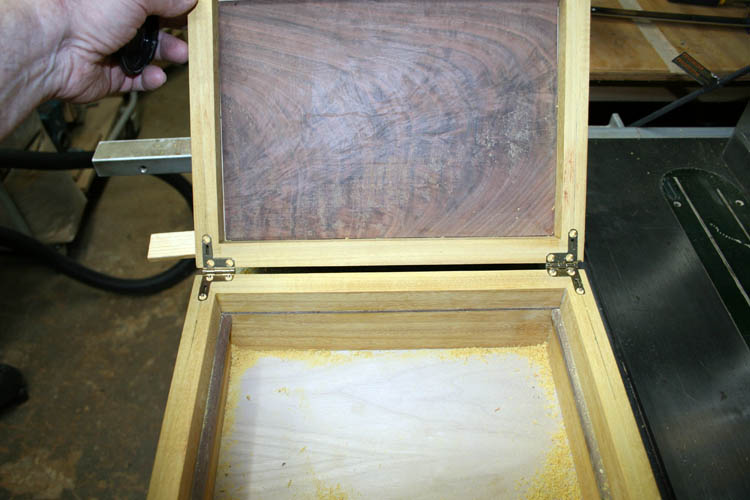
CROTCH WALNUT TEAKWOOD BOX
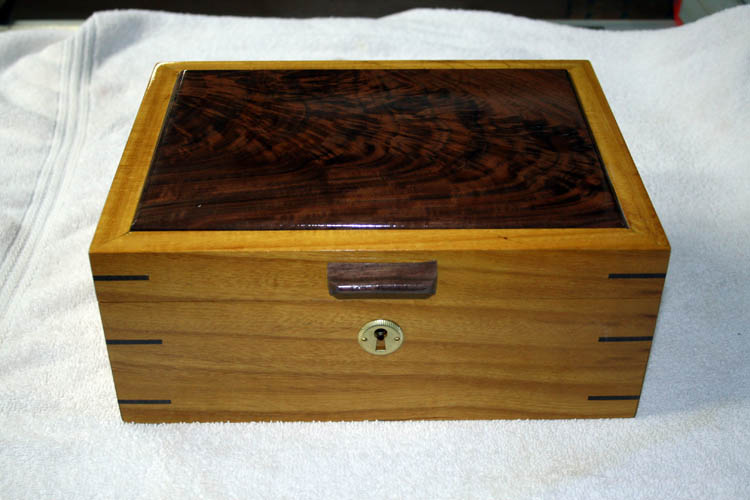
I wet sanded and buff/polished the above box out on 07-10-19.

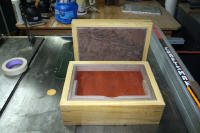
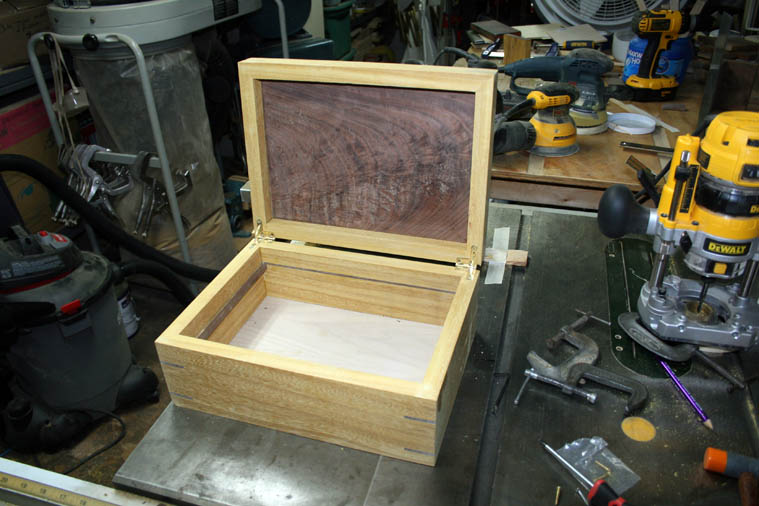
Heirloom,
Secretary/letter boxes and Lacewood candy
dish above made for my
bride! I had first
dibs on the crotch walnut raised lid teakwood box, but decided to give it to
my bride instead.
Web page updated by Bill aka Mickey Porter on 07-10-19.
TEAK WOOD BOARD HISTORY
I sent pixs to a woodworking/musical instrument making friend and others,
of which no one knew what the wood species was for sure.
I asked Robert to ask his
Dad aka "Daddy Rab"
who is also named Robert about the board. Robert told his Dad that he
had given me one of the boards and Robert's Dad said,
"Ugh, that is expensive
wood." Robert's Dad stated it was teak
wood and he purchased a beam for about 30 dollars way back when and using
his homemade horizontal bandsaw sawmill, got several boards from the beam.
The person he got the teak wood from has since passed away and doubt we will
ever know exactly what the teak wood beam was used for since it had some
large nail holes in the board that I received.
I asked Robert to send me a few pixs of his Dad's homemade sawmill from his new
Obamaphone to one of my email addresses, but the Obamaphone technology is ahead of him at the present time......grin
if you must.
DADDY RAB'S SAWMILL
Robert Webster got around to sending me a few pixs of his Dad's homemade
sawmill. The sawmill had the blade removed, drive belts removed and
the gasoline engine covered with tin.
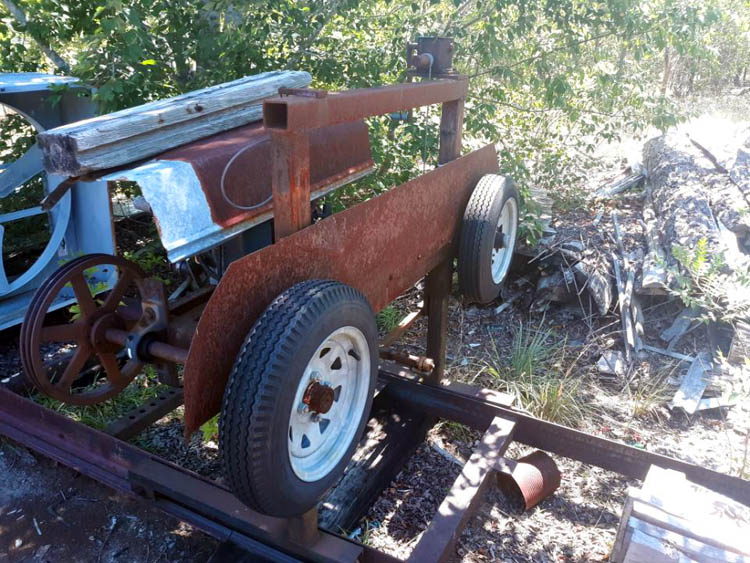
The track has a chain drive controlled by a slow rpm motor; forward and
reverse and there is a cable winch that raises/lowers the saw for the
thickness of cut desired. The sawmill might look a little rough, but
it sure does render nice boards from logs.
In the background, there is a slab pile no doubt home for a few venomous
reptiles and other vermon....grin if you must!
Web page updated by Bill aka Mickey Porter on 06-25-19.
PERSONAL SAFETY AND LIABILITY ISSUES
My goal will be to keep Safety
paramount because hand and power tools can do serious bodily harm and death
if not used properly, therefore these pages are solely for
entertainment purposes only from
a personal liability standpoint. Please read the
Legal Stuff
page for additional information concerning liability issues
before going any further. Safety glasses and hearing protection is a
must, although I do forgo the hearing protection many times; my bad
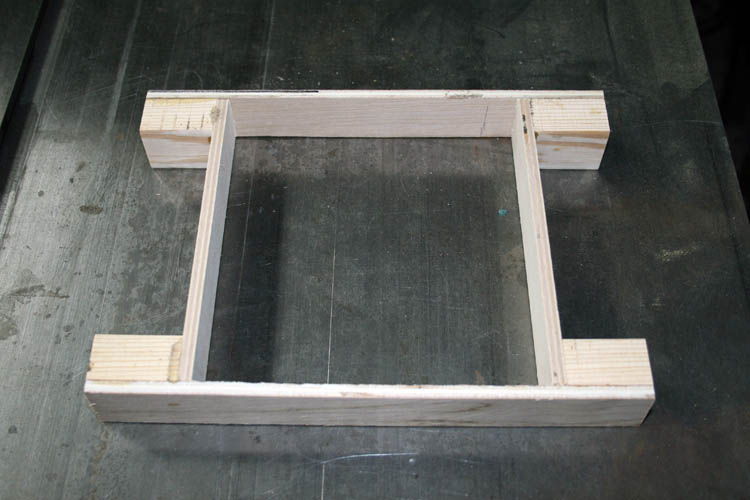
BOX CONSTRUCTION
I have detailed instructions on making the
secretary/letter box,
therefore will not reinvent the wheel.
I give
Mike's Heirloom Boxes credit for the design
of this box, I only implemented what was already there. Copying/imitating
someone is one of the sincerest forms of flattery there is and pay the
person a genuine compliment! I made a
few minor changes to the construction, but everything is nearly identical to
the reference
secretary/letter box hyperlink.
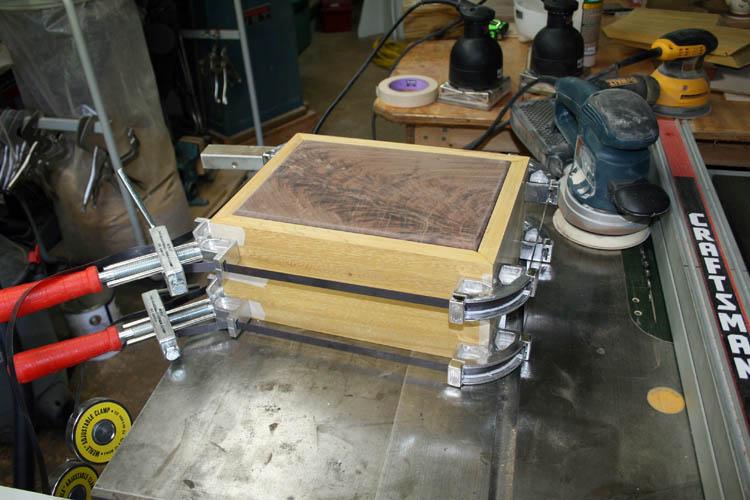
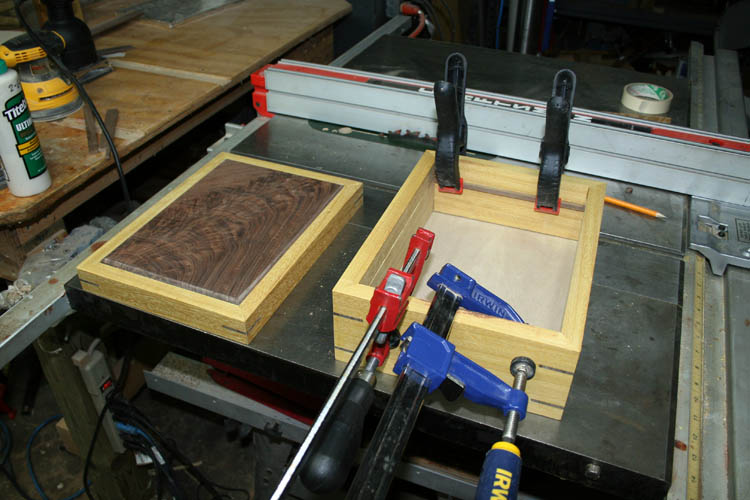
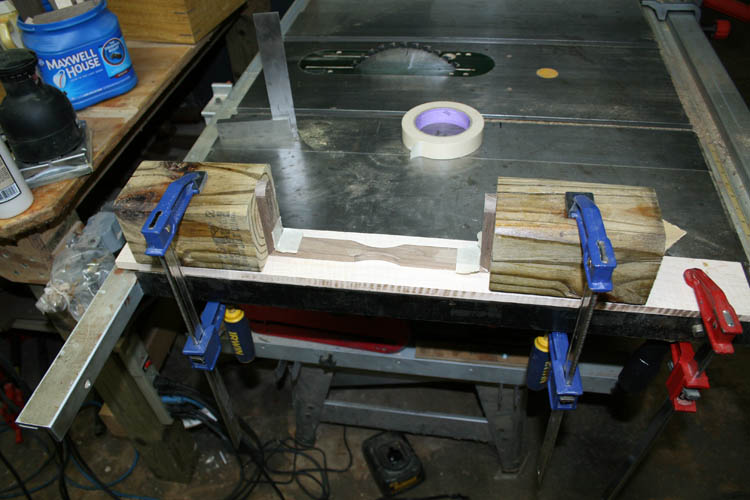
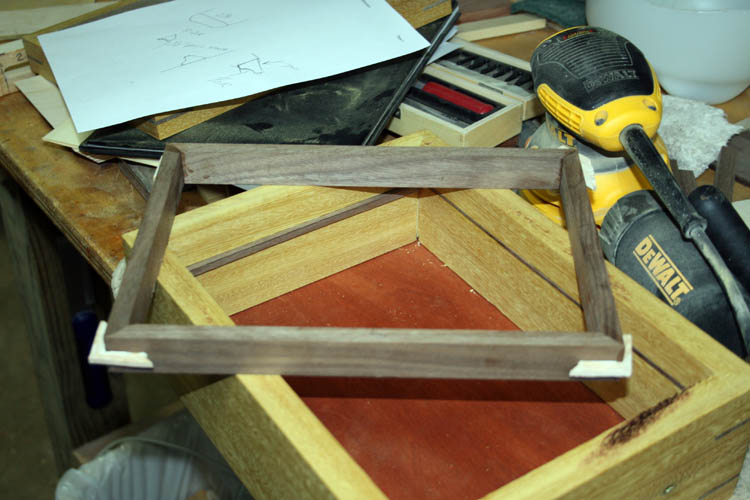
A FEW PIXS TAKEN ALONG THE WAY
According to the date/time stamp on the digital images I took, I started
this project around June 13, 2019 and finished the construction and sanding
phase on June 22, 2019 and will spray a few coats of lacquer when the
weather is conducive; e.g., no wind and less than 65% relative humidity.


One thing I learned very quickly about teak wood; it is tough on your saw
blades and this is due to a high content of silica. I used a rip blade and a crosscut blade which was fairly sharp
and the wood would literally smoke if in the least bit of a bind which
slowed the travel speed down into and through the saw blade. The
forty-five (45) degree miter edges showed some burning near the end of the
cut due to the miter sled runners too tight in the table saw miter slots due to
the humidity which slowed the cut speed down. I coated the wood miter slot runners with Johnson's Paste
Wax and it slicked them up pretty good; after the fact!
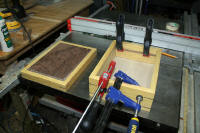
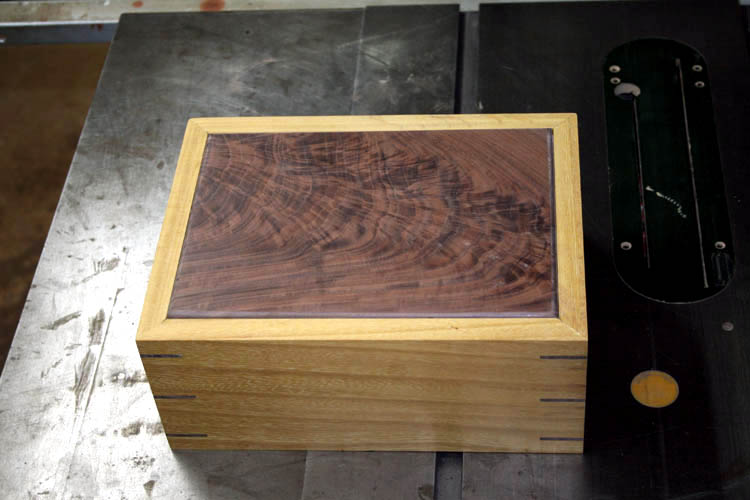
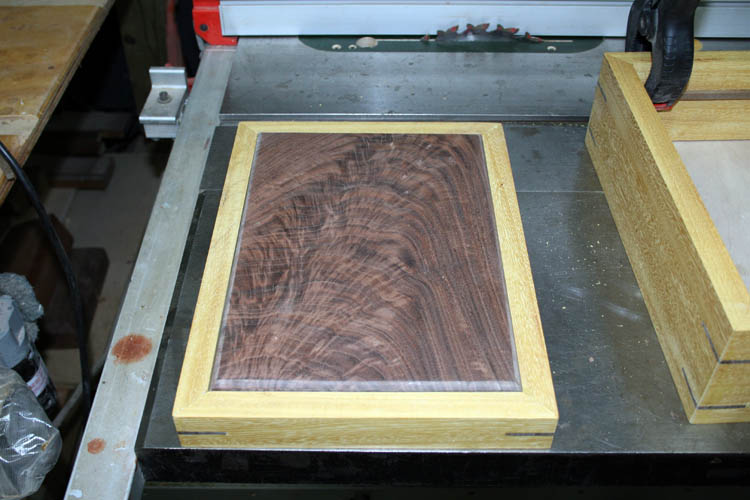
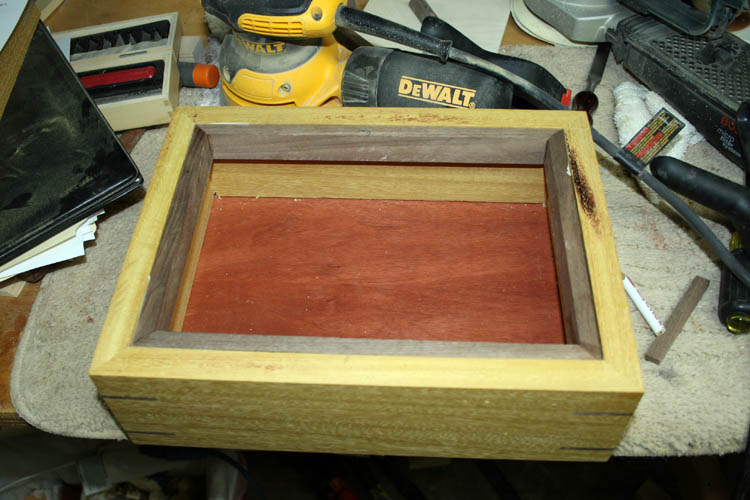
I found a nice piece of crotch walnut large enough for one of the lid
raised panels and band sawed (ripped) a 1.5 inch thick piece of black walnut
and made a book match panel for the second box lid raised panel.


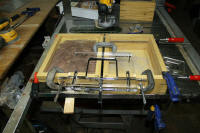

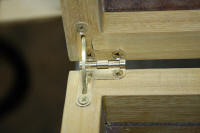

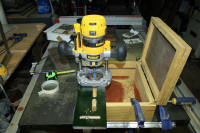

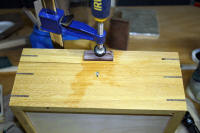

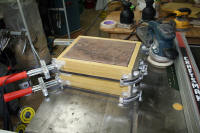
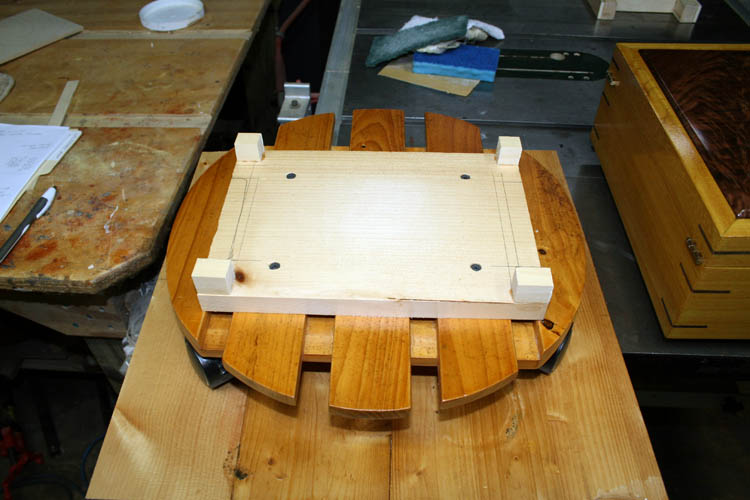
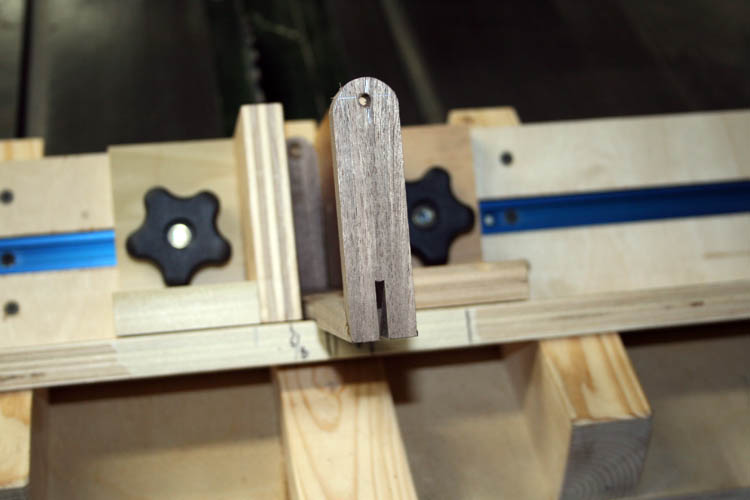
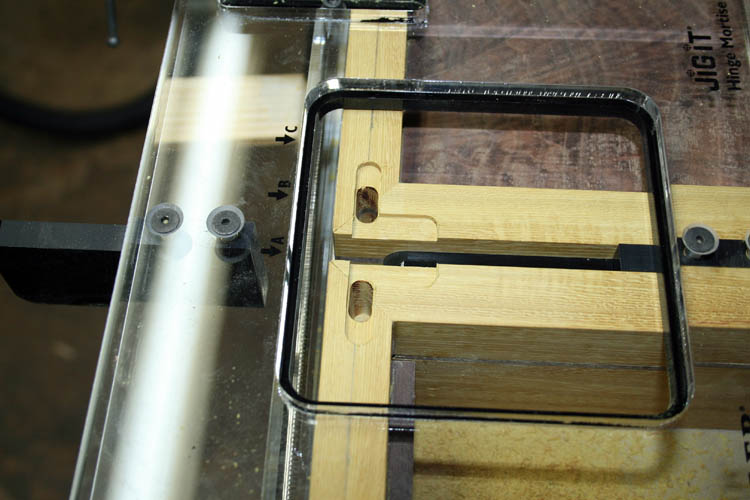
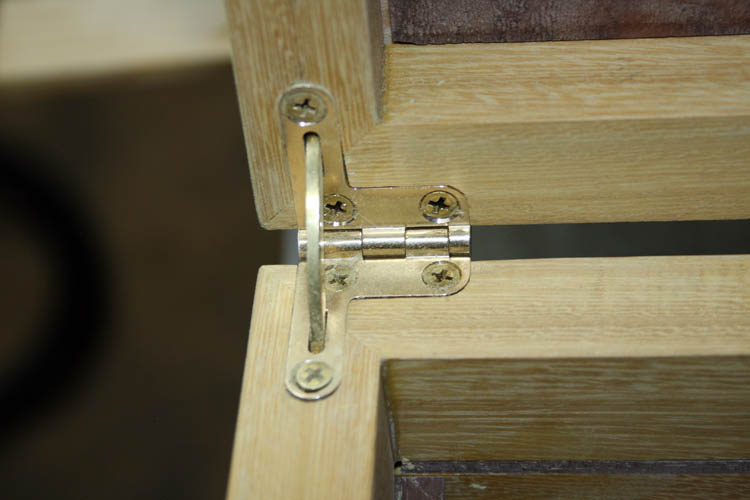
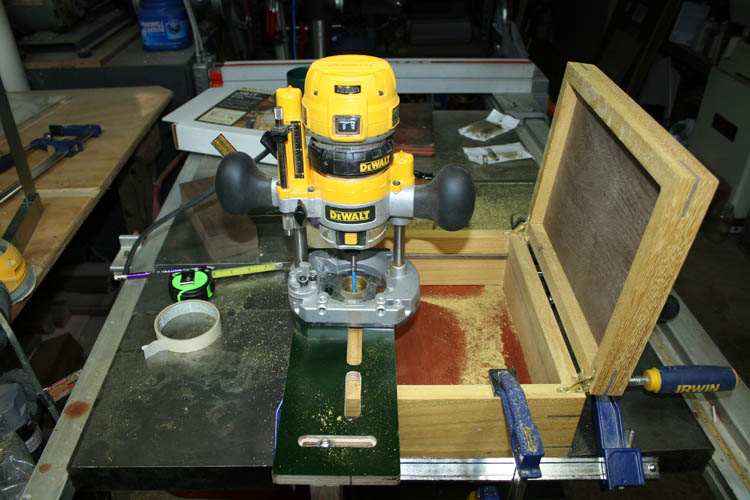
INSTALLING HINGES AND FULL MORTISE LOCK
This time around, I routed a mortise 3/4 inch deep in both the lid and
the box base for the support arm of the quadrant hinges to rest in which worked out
great, instead of routing the deeper mortise slot in the box base!
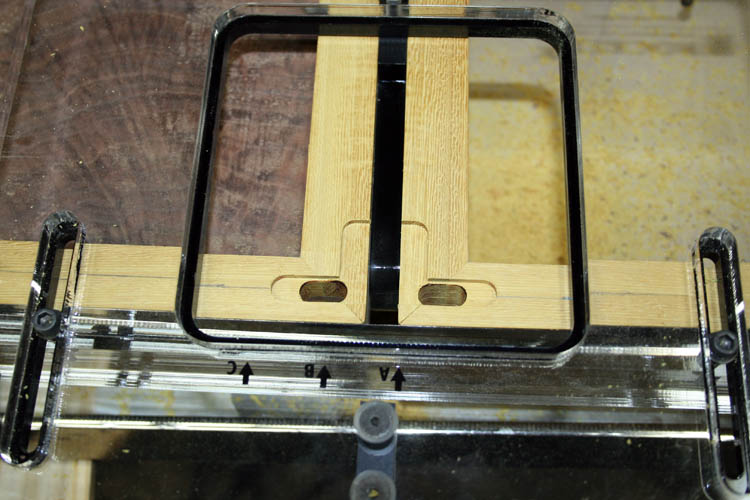
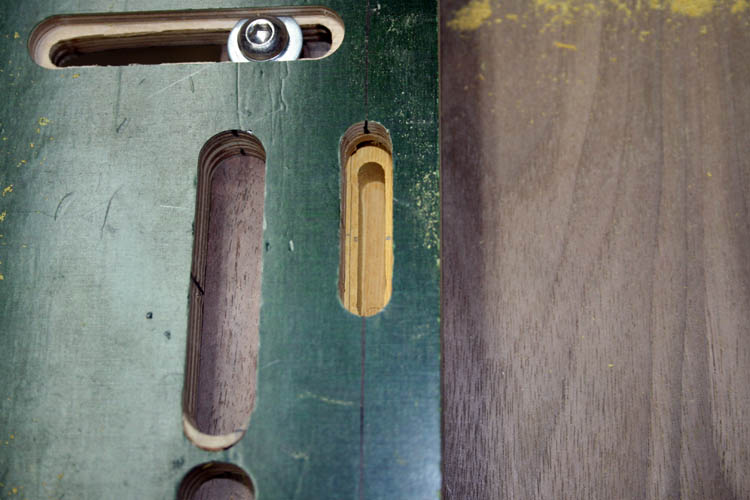
I drilled the screw pilot holes in the teak wood using a 5/64
inch diameter Speedy self-aligning drill bit and then used a
tapered 7/64 inch diameter drill bit set to a depth of 3/4 inch. I
used the supplied steel screw provided by Brusso and waxed the threads and cut the threads in
each hole before installing the # 4 brass screws of which I also applied
bee's wax to the threads.
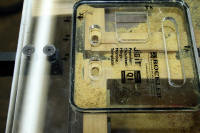
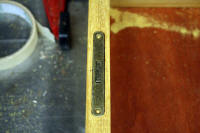
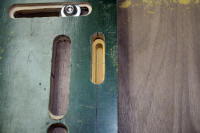
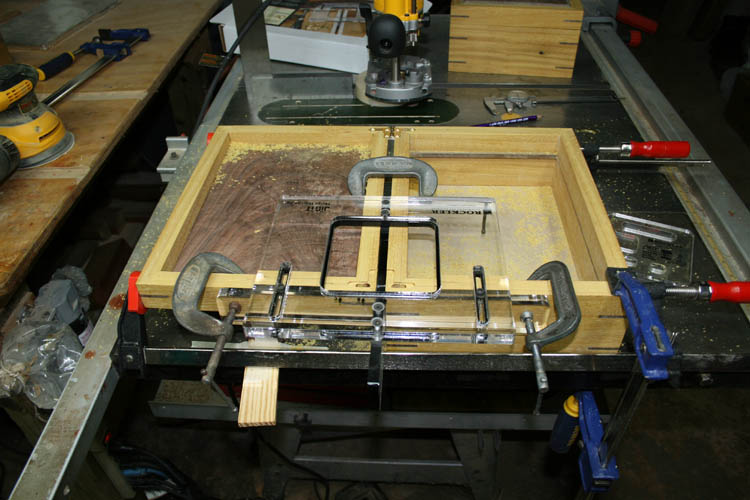
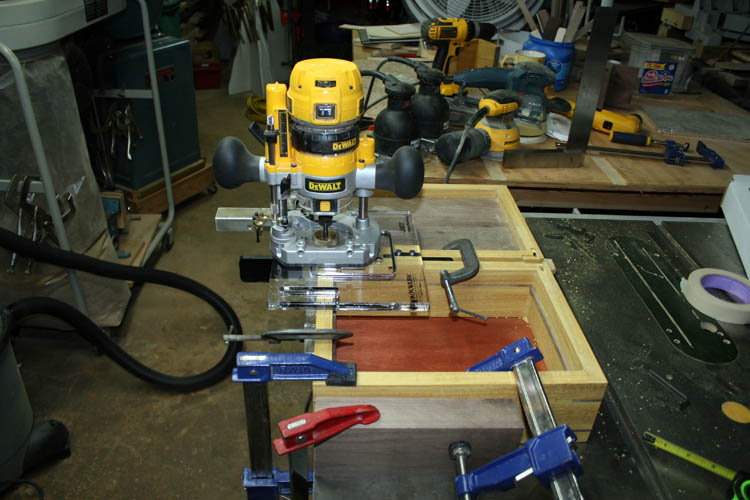
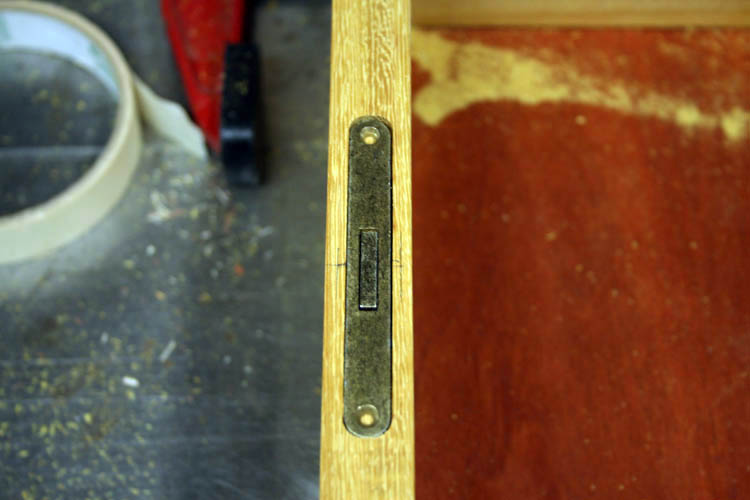
I did the same thing for the installation of the full mortise lock. My
full mortise lock jig works ok, but I am thinking about making a separate jig
plate just
for the striker plate and the lock bolt cut out because it is a pain to
recalibrate the jig after doing the mortise for the selvedge plate and lock
body. The problem is a clamping issue, but it is doable.
BOXES READY LACQUER
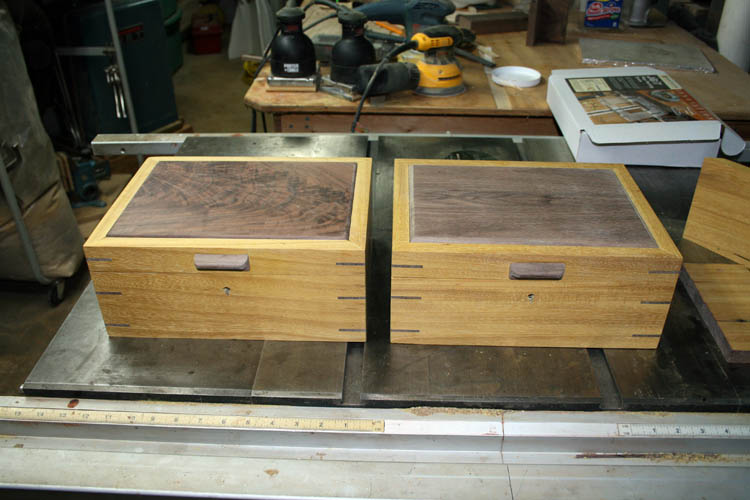
I plan to do some recon and see if there are any special prep to the teak
wood prior to finishing. I have some small pieces I can shoot some
lacquer to see if the wood "bleeds"
any. I will wipe the boxes down with lacquer reducer to remove any
surface oil from the teak wood.
These teak wood boxes are serial numbers 75 and 76.
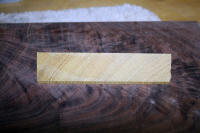
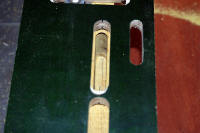
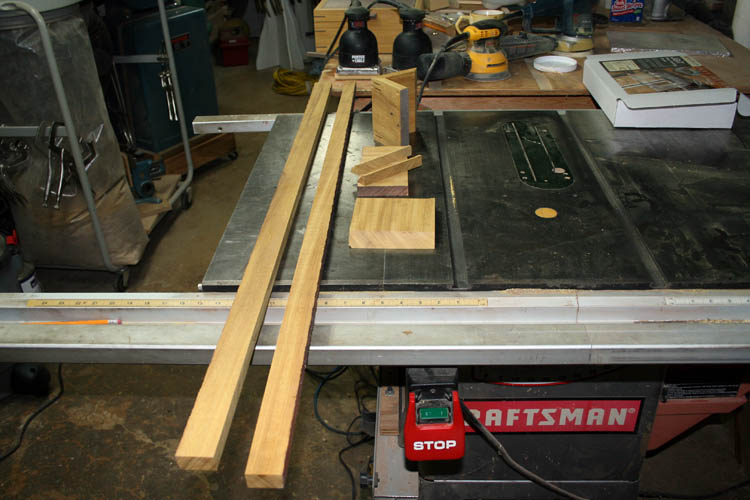
SCRAP AKA UNALLOCATED TEAK WOOD
The following is a pix of the left over teak wood. There was just
enough wood to complete two secretary/letter boxes....not much room for
error on this one.
Web page created by Bill aka Mickey Porter on 06-22-19 and uploaded on
06-25-19.
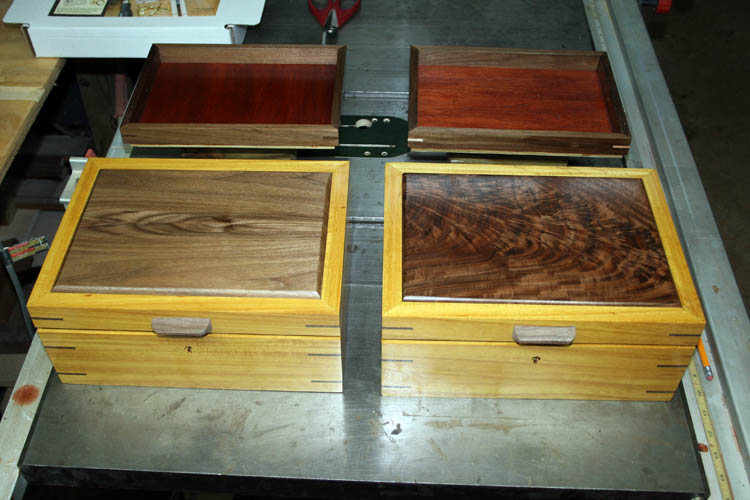
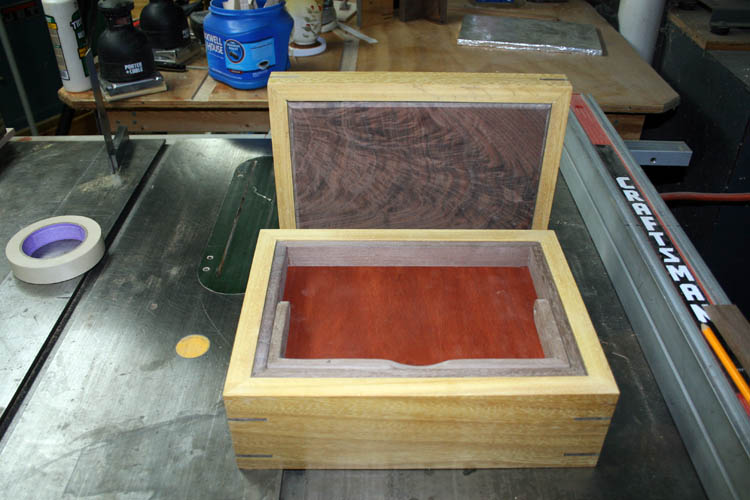
FIRST COAT OF THINNED LACQUER
I sprayed a thin coat of lacquer onto the boxes and trays on 06-24-19:
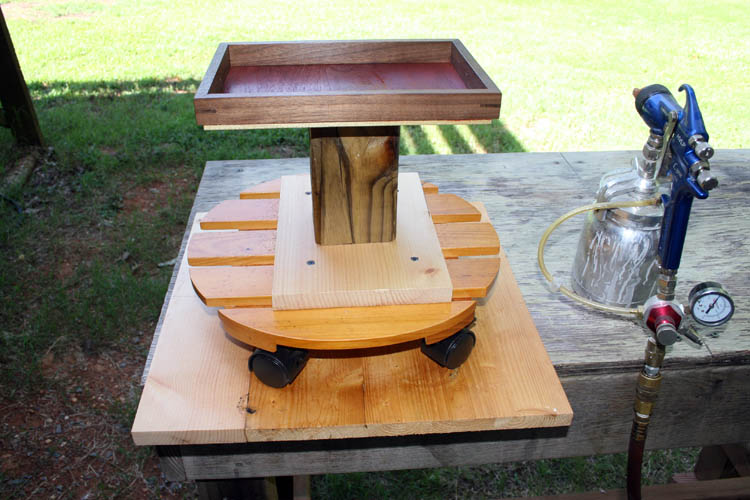
The rotary carousel fixture is working out pretty good for these boxes.
I modified the rotary carousel fixture where I could get my fingers
underneath the box to remove it from the fixture after spraying the lacquer
without touching the outside surfaces of the box.
I made a stand off to place the box on after lacquering which allows the
fingers underneath the box without touching the outside surfaces of the box.
I am claiming dibs on the box above......grin if you must!
NOTE: The lids rest much flatter and parallel than in the
pixs...have the lids scotched open to keep the lacquer from "gluing" the lid
to the box.
Web page updated by Bill aka Mickey Porter on 06-24-19.
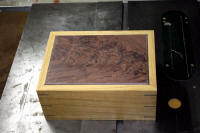
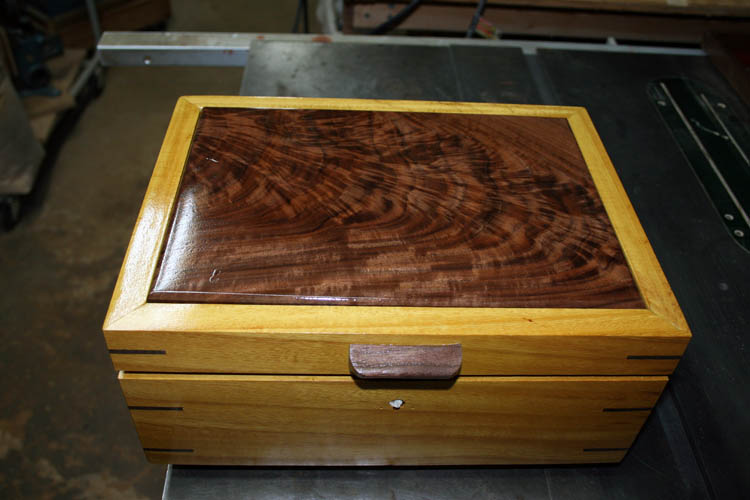
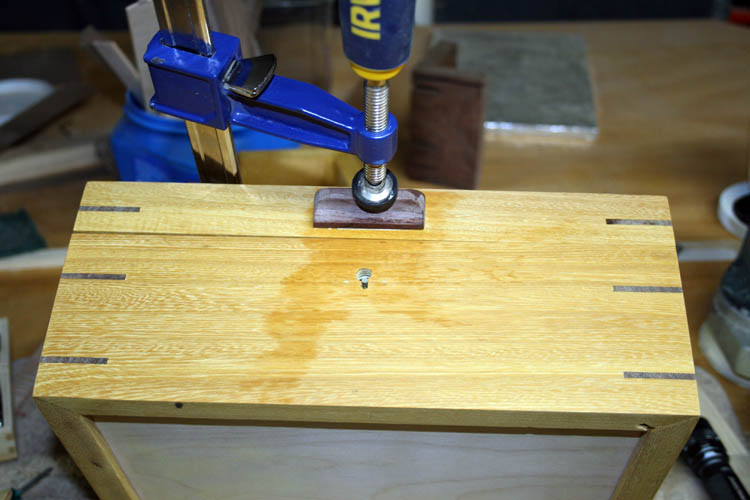
THIRD COAT OF LACQUER
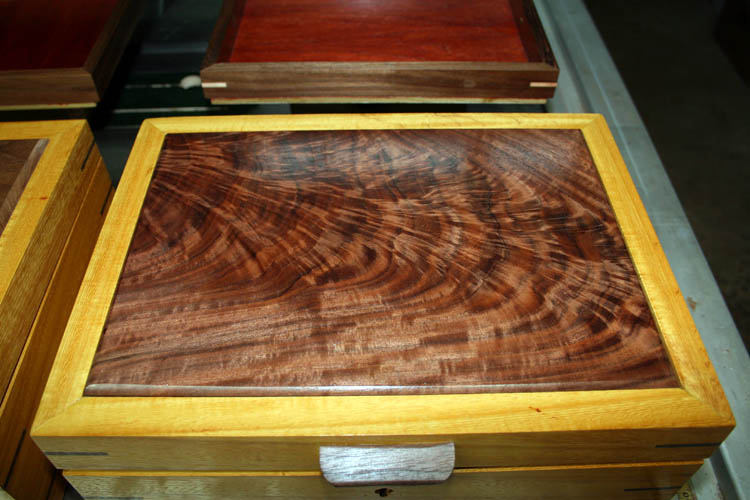
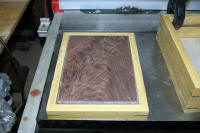
I applied a third coat of lacquer to the teak boxes. The pores in
the crotch walnut raised panel lid above has some pretty heavy cracks aka
open pores in it and will probably wait a few days and lightly sand it down
and apply a few thinned coats of lacquer to hopefully fill the pores.
The book matched walnut raised lid box will not need additional coats of
lacquer.
Web page updated by Bill aka Mickey Porter on 06-26-19.
DROP FILLED THE PORES/CRACKS
On June 27th, I drop filled the open cracks/pores in the crotch walnut
raised panel lid using a toothpick and applied small droplets of lacquer.
I lightly sanded the panel the next day and sprayed a total of four (4)
coats of lacquer, waiting at least one hour between coats.
On the 28th, I lightly sanded the panel down with 320 grit paper and
applied four more coats of lacquer. On the 29th, I drop filled again
the pores that still needed additional lacquer to level out the finish.
Come Monday July 1st, the Lord willing of course, I will again lightly sand
the panel down and hopefully it will be level enough. I will then,
apply four (4) more coats of lacquer and let the box rest between 10 to 14
days and wet hand sand the raised walnut panel using P800 wetordry grit paper and then
1200 grit and buff and polish the box.
The box is small enough where I can use my buffing arbor with the cotton
flannel buffing wheels and will use a dry buffing compound; medium and fine
which should render a good mirror finish.
Web page updated by Bill aka Mickey Porter on 06-29-19, 06-30-19,
07-02-19 and 07-10-19.
UPDATE
Both teak wood letter boxes not too long after being finished, the left
front portion of the lid started raising upward leaving a gap between the
lid and the box body. I don't have a clue as to how and/or why this
happened. The center portion of the lid is more or less free floating
and not glued in place. A possible cause could be the splines in the
corners causing the warpage, but just a guess at the best. I did a
black walnut box with basically the same construction and the lid stayed
flat to the base.
I removed the lid from one of the boxes and it was in fact the lid
warpage being the problem and attempted to level the entire lid using two
sheets of 60 grit sandpaper double sticked to my table saw top,
however,there was too much warpage to have the lid making a perfect fit as
when originally finished.
Web page updated by Bill aka Mickey Porter on 01-17-2022.
LEAVING ON A
SPIRITUAL NOTE
If you do not know Jesus Christ as your Lord and Savior, please take
this moment to accept him by Faith into your Life, whereby Salvation
will be attained.
Ephesians 2:8 - 2:9 8 For by grace are ye saved through
faith; and that not of yourselves: [it is] the gift of God: 9 Not of
works, lest any man should boast.
Hebrews 11:1 “Now faith is the substance of things hoped for,
the evidence of things not seen.”
Romans 10:17 “So then faith cometh by hearing, and hearing by
the word of God.”
Open this
link about faith in the King James
Bible.
Romans 10:9 “That if thou shalt confess with thy mouth the
Lord Jesus, and shalt believe in thine heart that God hath raised him
from the dead, thou shalt be saved.”
Open this
link of Bible Verses About Salvation,
King James Version Bible (KJV).
Hebrews 4:12 “For the word of God is quick, and powerful, and
sharper than any two edged sword, piercing even to the dividing asunder
of soul and spirit, and of the joints and marrow, and is a discerner of
the thoughts and intents of the heart.”
Romans 6:23 “For the wages of sin is death; but the gift of
God is eternal life through Jesus Christ our Lord.”
Romans 3:23 “For all have sinned, and come short of the glory
of God;”
Micah 6:8 “He hath shewed thee, O man, what is good; and what
doth the LORD require of thee, but to do justly, and to love mercy, and
to walk humbly with thy God?”
Philippians 4:13 "I can do all things through Christ which
strengtheneth me."


