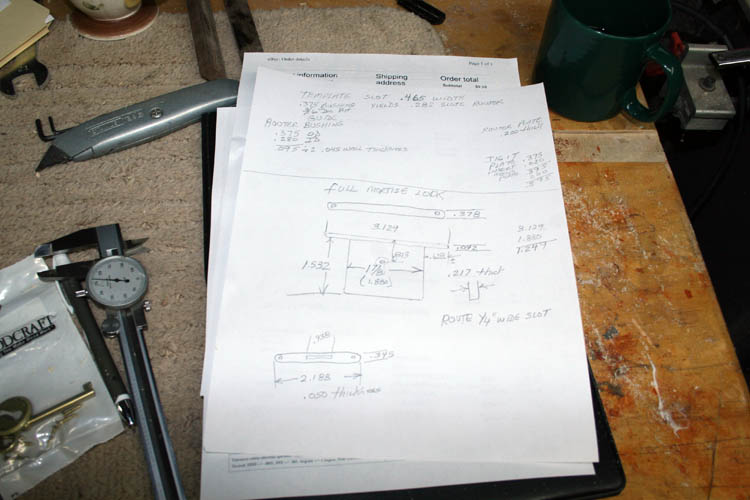
FULL MORTISE LOCK JIG
I started building a test sample secretary/letter
box and
do not want to install the quadrant hinges and full mortise lock with hand
tools; e.g., chisels and at the least a drill press and/or hand drill and a
small router with edge guides.
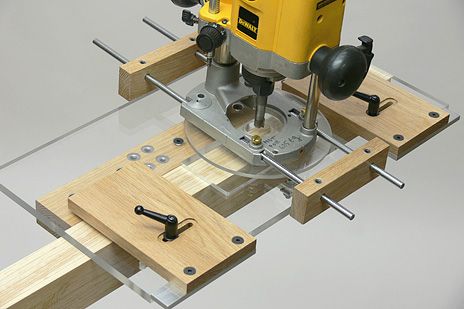
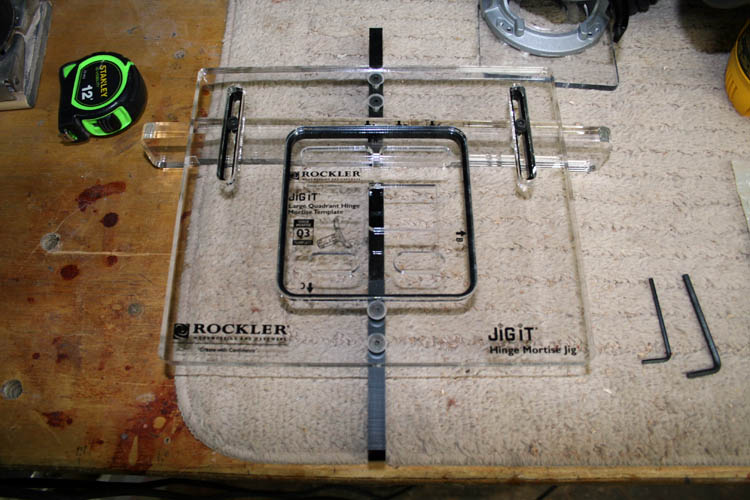
I did an internet search and found an excellent reasonably priced quadrant
hinge jig sold by Rockler (Jig It) for using a small plunge router and they
offered several different jig plates for various manufacture's hinges, of
which I purchased one. However, there was not a single full mortise
lock jig available for sale by Rockler or Woodcraft and did locate such a
jig on YouTube, but there was no link to its manufacturer and/or
availability. The blogger failed to respond to my email to ascertain the
availability of the jig he was using. The blogger was simply doing the
video.
One thing I certainly do not like to do is,
"Reinvent the Wheel", if such a product is available and
within my common sense price range...ok, I can be very frugal at
times.....grin if you must!
To reiterate, I do not plan to install the quadrant hinges or a full mortise lock
"free hand." The full mortise
lock jig is on my immediate "to do" list and knew it would be a good
challenge due to what equipment I have. A milling machine, CNC router or drill
mill would make such a project a piece
of cake to manufacture in my humble opinion.
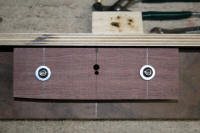
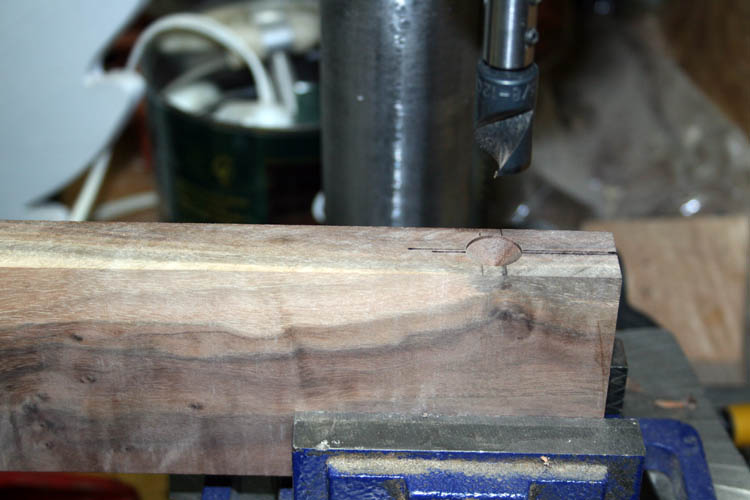
I plan to add a steel plate on the back side of the walnut
base member with a 1/4 inch and 9/64 inch diameter hole as a drill guide for drilling and
creating the key
hole cut out.
I am debating (thinking) about a guide bushing mortise in the jig plate to
mortise the bolt clearance
cavity beneath the strike plate on the lid and it would seal the deal so to
speak. No use stopping at 3rd base when a home run is in sight!
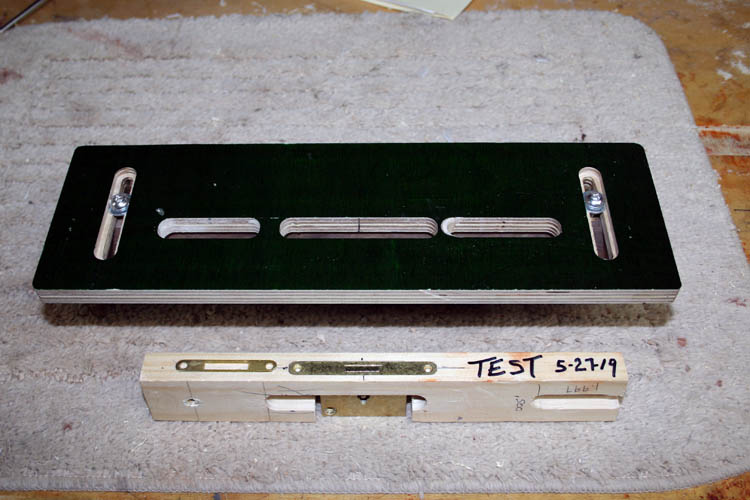
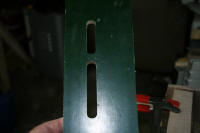
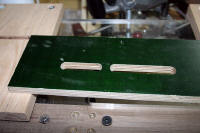
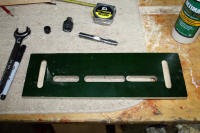
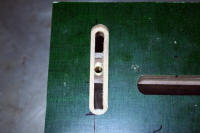
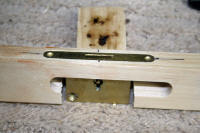
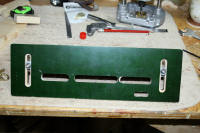
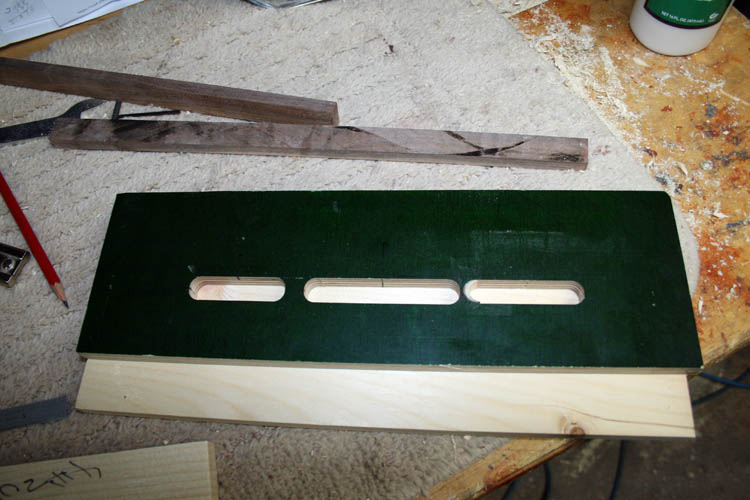
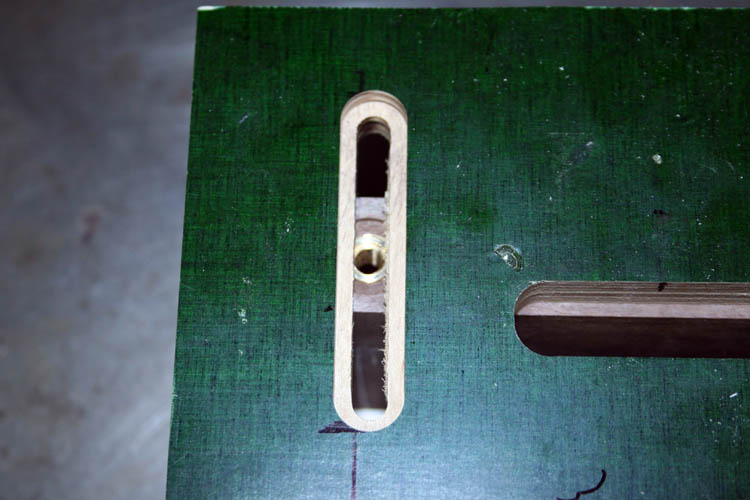
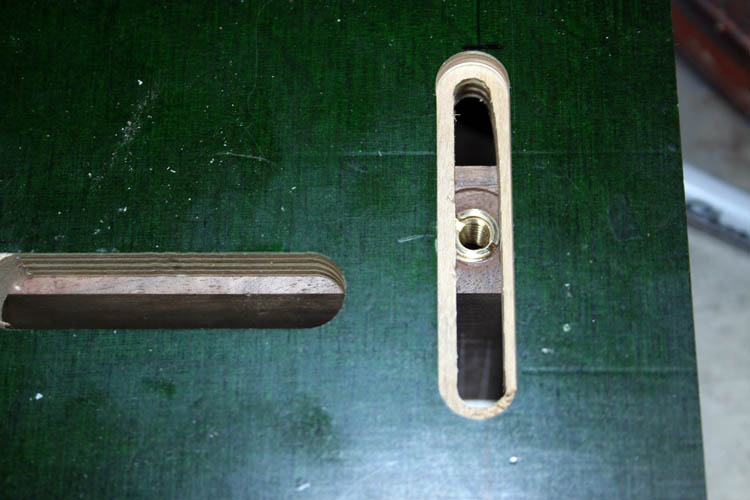
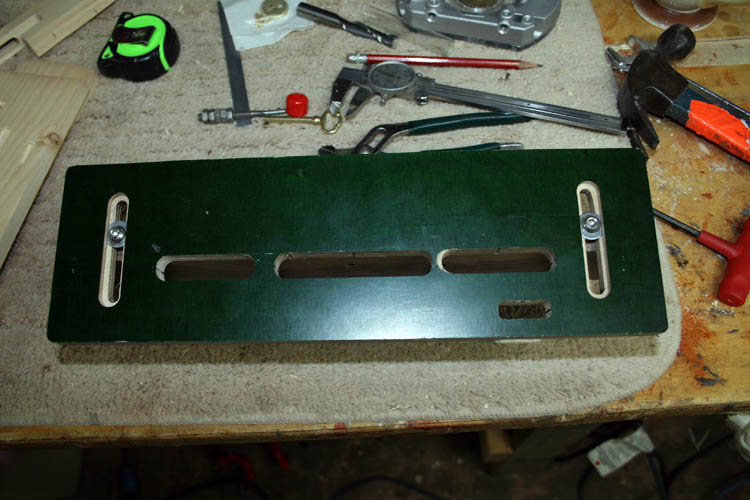
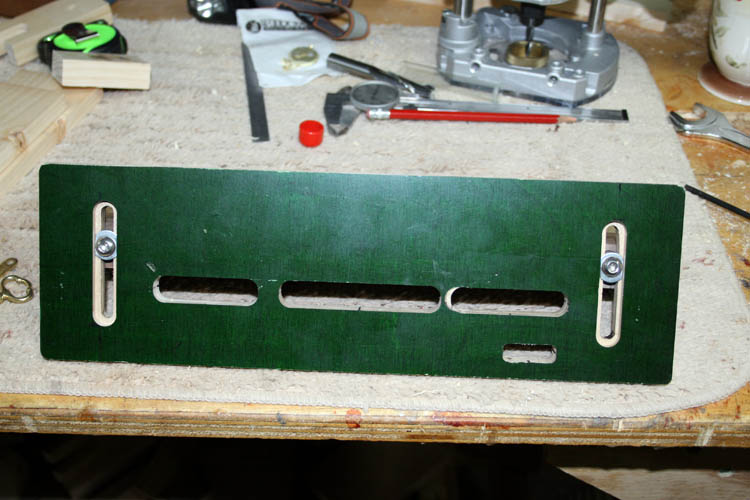
COMPLETED MORTISE JIG
I added another guide bushing mortise to the jig plate to route for the bolt recess beneath the strike
plate and a drill guide to the rear for drilling the two holes for the key
hole slot. I used a total of four (4) E-Z LOC threaded bushings for 1/4 x 20
x 1.25 socket head screws. This jig is SN 73.
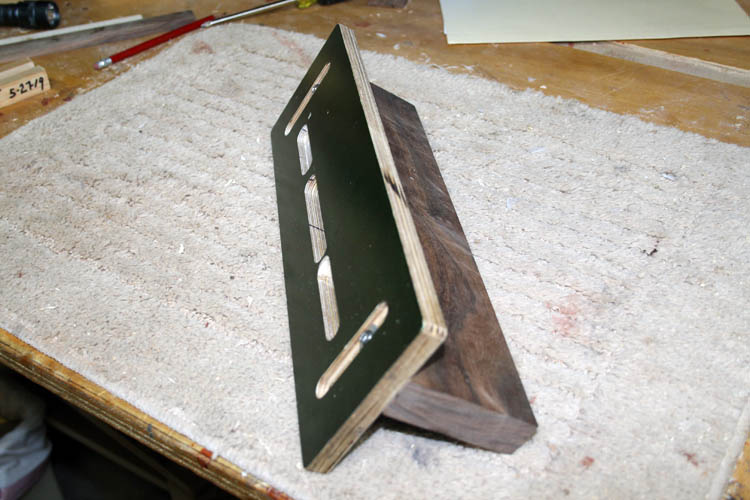
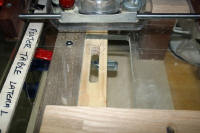
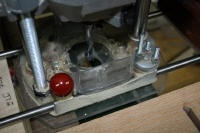
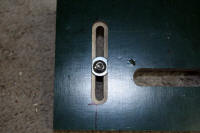
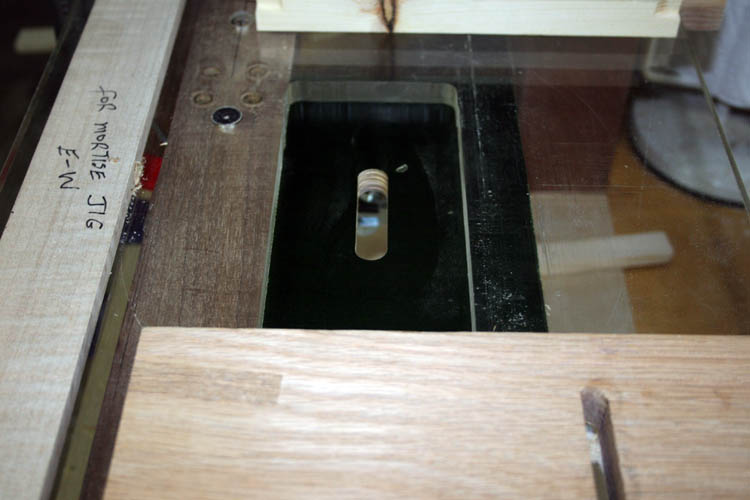
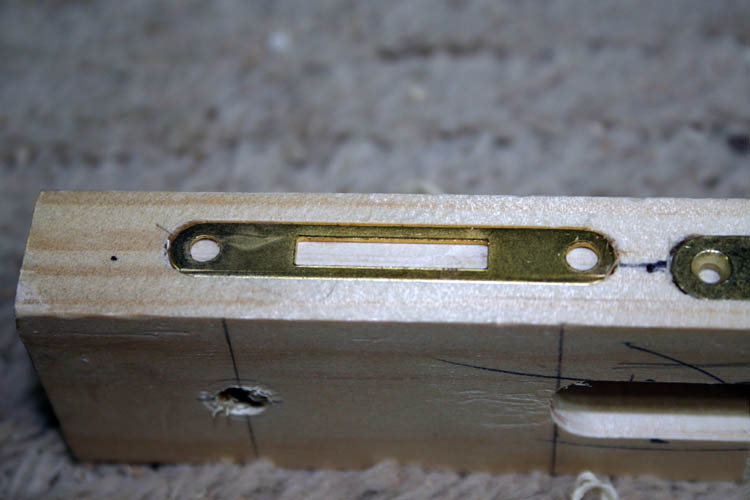
Center line of mortise slots for the guide bushing at both ends of the
full mortise lock jig plate. The smaller outboard mortise slot for the
bolt recess under the striker plate (lower right) requires a separate
adjustment of the fence and/or appropriate spacer, of which the spacer will
probably be the way to go.
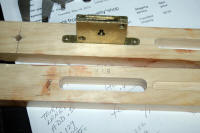
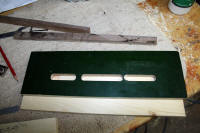
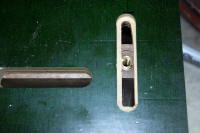
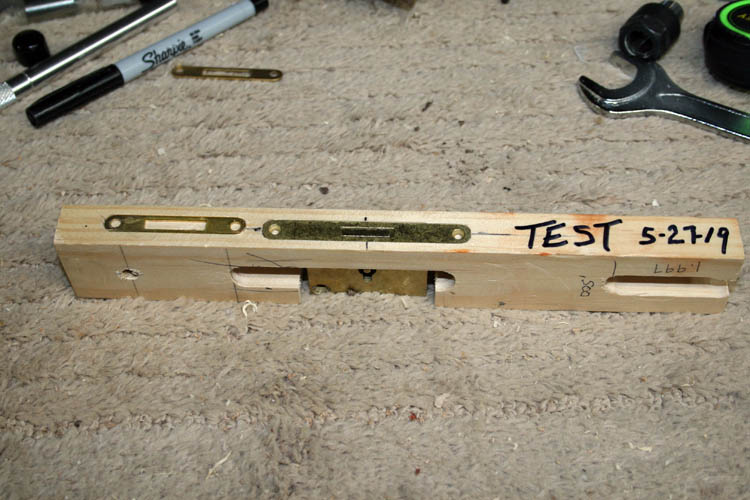
Tested out the full mortise lock jig and pleased so far!
Very pleased with the final results!
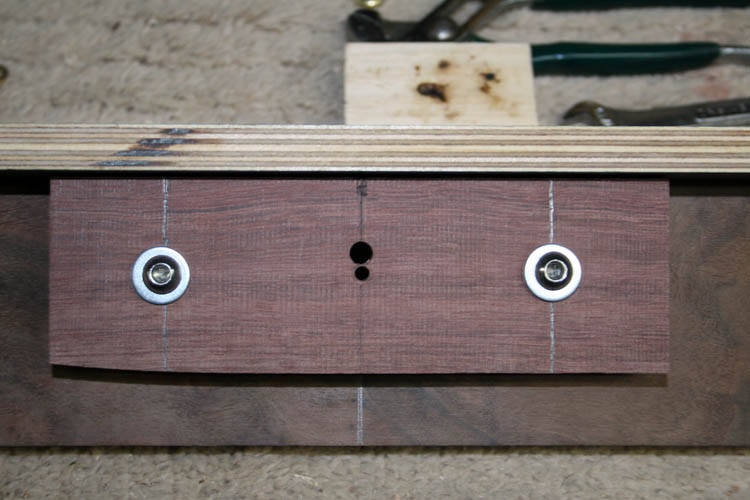
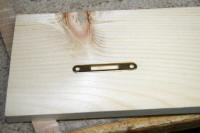
Purple heart drill guide bushing below.
GETTING STARTED
I had some scrap aka unallocated phenolic laminated 1/2 inch thick plywood used for
making jigs and table saw inserts which would be good for making such a full
mortise lock jig. I also had unallocated 12 mm Plexiglas which would
work, but elected to use the phenolic coated plywood instead.
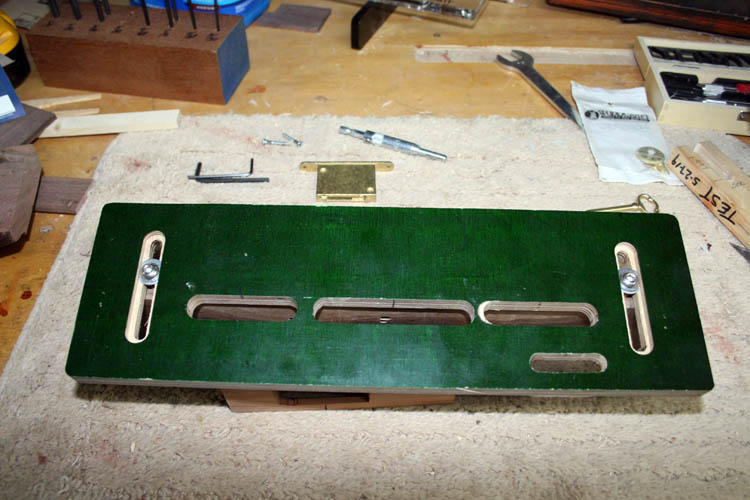
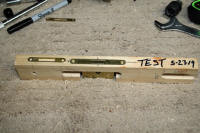
The size of the jig platform is 13 1/8 x 4 1/8 x 1/2 inches and basically
somewhat controlled by my mortise jig since the cut-out opening in the
Plexiglas top is 3 x 6 7/8 inches and have plenty of flexibility in the
longitudinal plane, but limited to the 3 inch width in relationship to the
left guide rail and clamping system, of which I can increase
the width of the mortise slot if ever needed. A plunge router using just edge guides would
be a nightmare to create the mortises for this full mortise lock jig in my
humble opinion, but the experienced can make it happen for sure! The
mortise jig is the way to make it easier and more accurate, again
in my humble opinion!
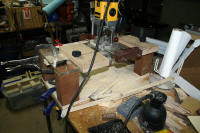
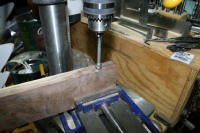
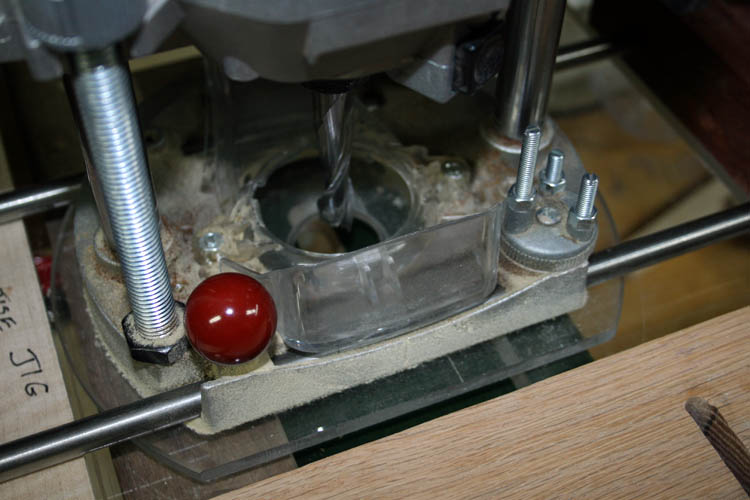
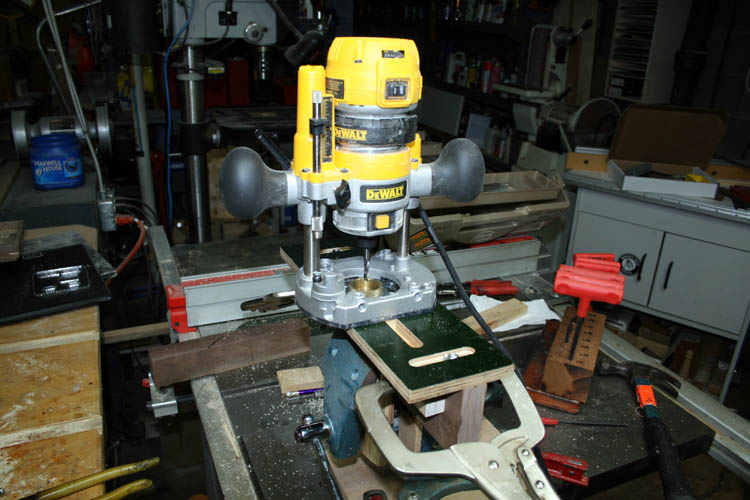
My main equipment for making this jig will be my custom made Pat Warner
design
Mortise Jig and a 1/2 inch diameter two flute up-spiral solid carbide router
bit that is four (4) inches in length. This full mortise jig will use a 3/8 inch
diameter router guide bushing and a 3/16 inch diameter solid carbide
up-spiral router bit. I do not have a long enough router bit to
complete the cut-out for the lock body, but have the appropriate length 3/16 inch
diameter carbide tipped flat bottom bit on order from Rocker SKU 56249.
The simple formula for calculating the offset is: (Outside diameter of
guide bush – diameter of cutter) divided by 2. You will notice in some
of the thumbnail pixs, I have the length of the jig plate mortise slot in the test
samples annotated if you plan to build this type of jig.
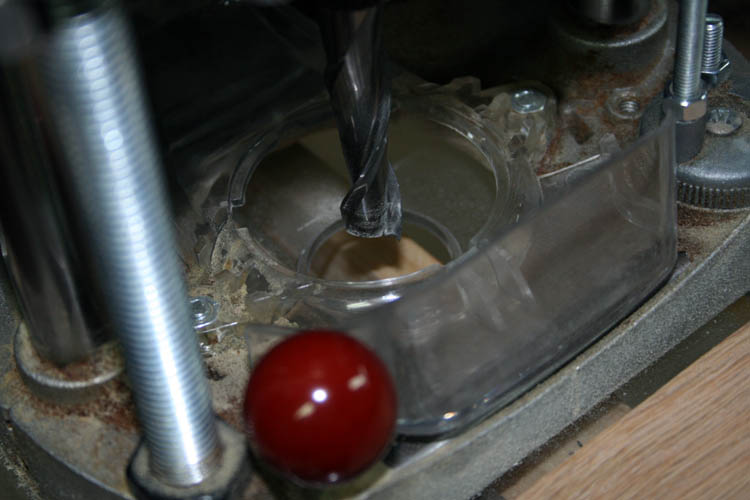
I used a 1/4 inch diameter solid carbide two flute router bit in the
Mortise jig 3HP router to create
the mortise in the jig plate for the bolt striker mortise and moved the
router lateral on the mortise jig to get the appropriate width of the
mortise slot since the 1/2 inch diameter router bit was to large for the jig
plate bolt mortise.
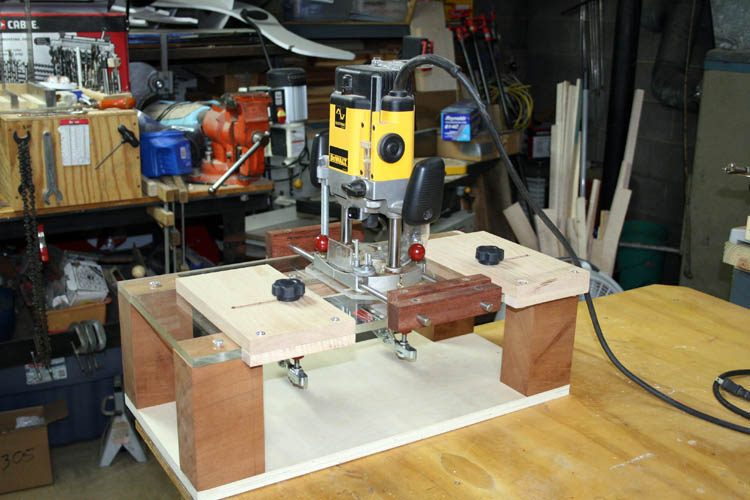
The above Pat Warner
design mortise jig that I made has really gotten
plenty of usage
and a valuable tool when you want precision mortises. I used a Brown and Sharp dial caliper to verify measurements of the
Rocker full mortise lock SKU 130261 part and here
is a down loadable
.pdf file for this lock.
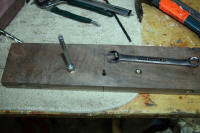
I used scrap white pine to test the width and length of the mortises
before routing the 1/2 inch thickness phenolic laminated plywood jig material.
THUMBNAIL PIXS
Click on the below thumbnail pixs taken for a larger screen view:


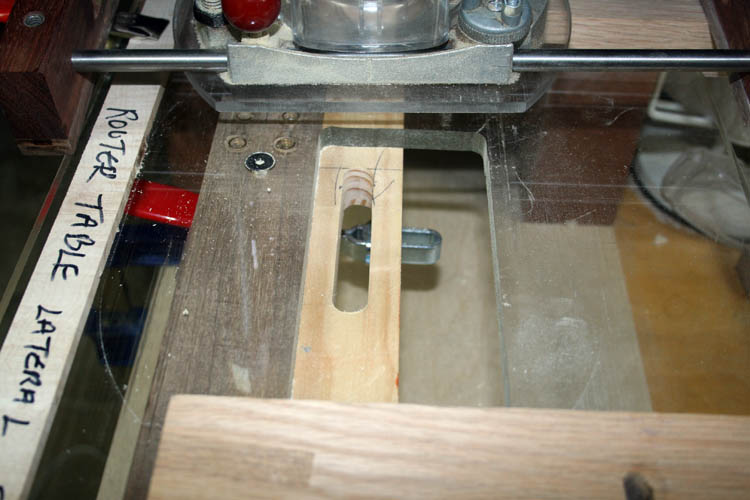
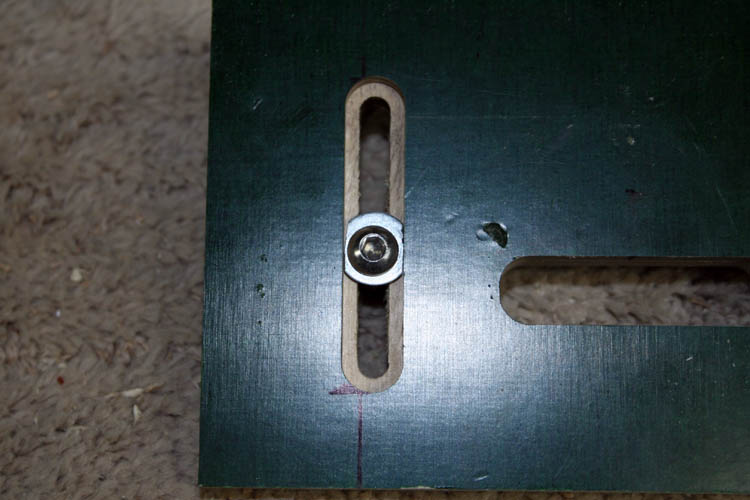
I definitely need to add a fine tune adjustment to my Pat Warner design
mortise jig for the lateral (East to West) router movement on the
stainless steel guide rods. I am currently using a thin strip of wood
on the left hand side of the mortise jig held in position by two small C
clamps. I drilled the left router guide rail and installed an E-Z
LOC threaded bushing for a 1/4 x 20 tpi threaded rod with knob for such
an adjustment, but as the old saying, "When I get around to it".........grin
if you must!
A COUPLE ROOKIE MISTAKES
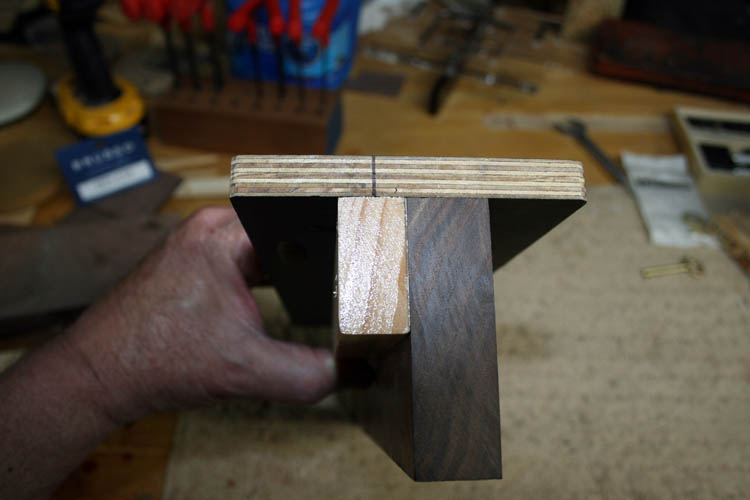
I had a couple "rookie" mistakes making this jig by not clamping the jig
plate securely enough to the base of the mortise jig Plexiglas member which allowed the jig plate to
shift. I corrected one of the rookie mistakes by gluing in a 1/2 inch
diameter dowel rod to the end of one of the mortises on the jig plate which
was too long because the longitudinal temporary stop on the mortise jig was not
properly engaged
to the router sub-base. Allowed the glue to set and then
re-routed the mortise slot in the jig plate with the temporary longitudinal
stop firmly in place. The other rookie mistake did not affect the accuracy of
the jig plate, cosmetic only.
TWEAKING THE JIG
I am still waiting on a long shank 3/16 inch diameter, flat bottom, two
carbide blades and 1/4 inch diameter shaft in order to route the cavity for
the body of the lock which requires a 1.625 inch deep cavity.
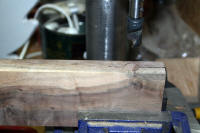
I had a piece of 3/4 inch unallocated cedar that was left over from a
toy
chest that I build for my Grandson
Xander McKnight Gonzales and decided to
use it as a test sample before committing the secretary/letter box and glad
that I did.
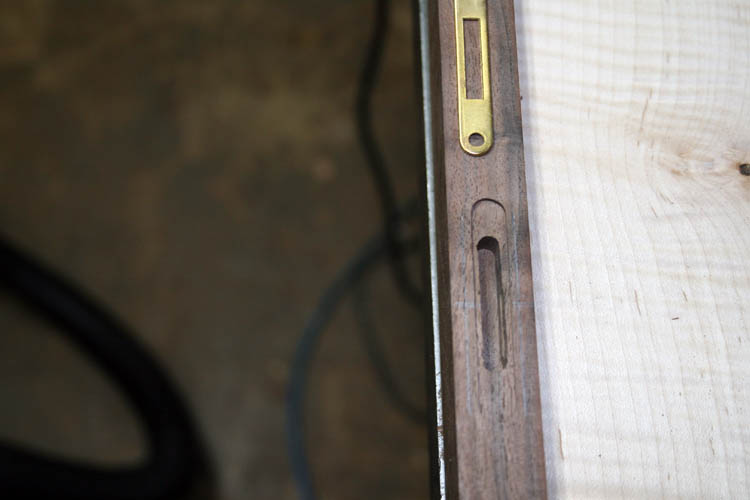
It was quickly evident the the mortise for the bolt to travel behind the
striker plate on the lid of the box was too short and had to set the mortise
jig back up to complete the mortise in the jig plate.
Also, the cavity for the body of the lock was a little too close in
tolerance and lengthened the mortise slot in the jig plate and gave both
mortises on the jig plate a test run.
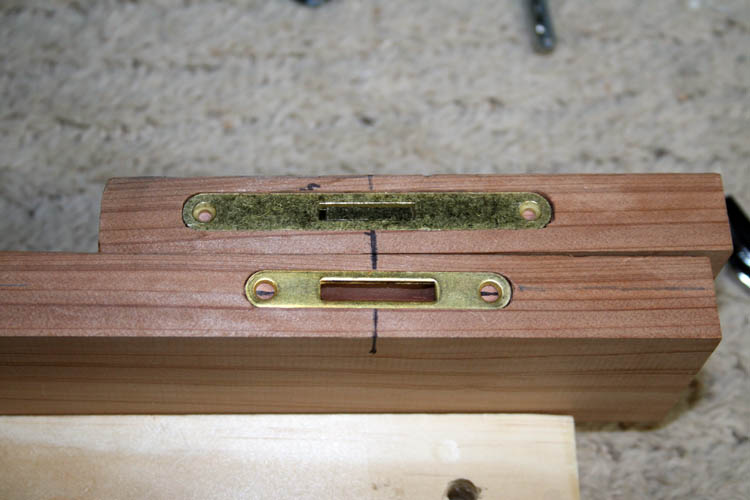
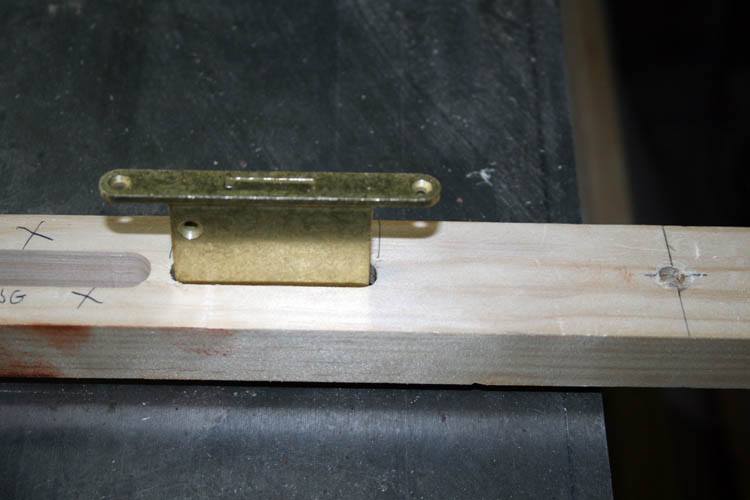
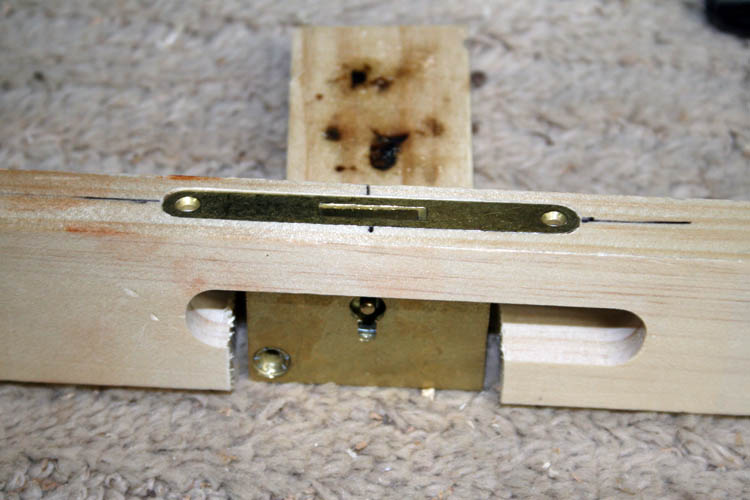
Above is the test pieces for the box and the lid. I didn't take any
serious time setting the depth of the router cavity for both mortises.
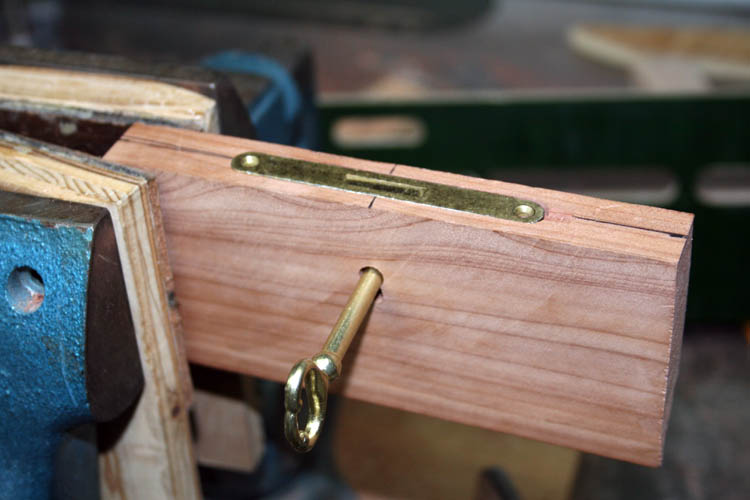
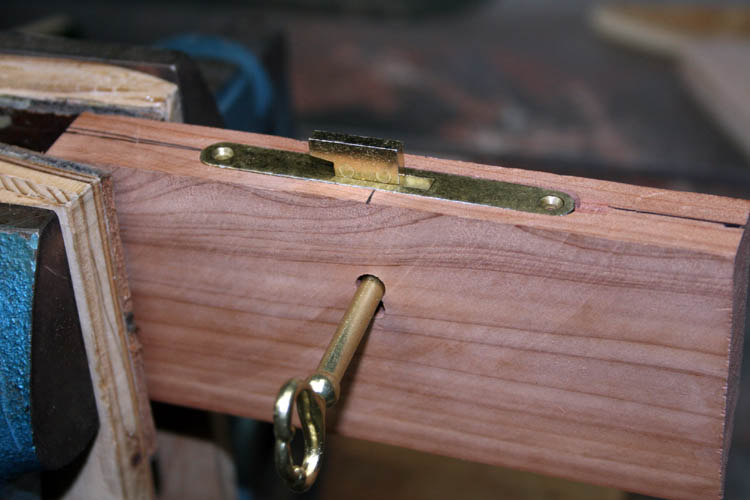
The lock bolt travels upward and then to the left to engage the striker
plate cut-out.
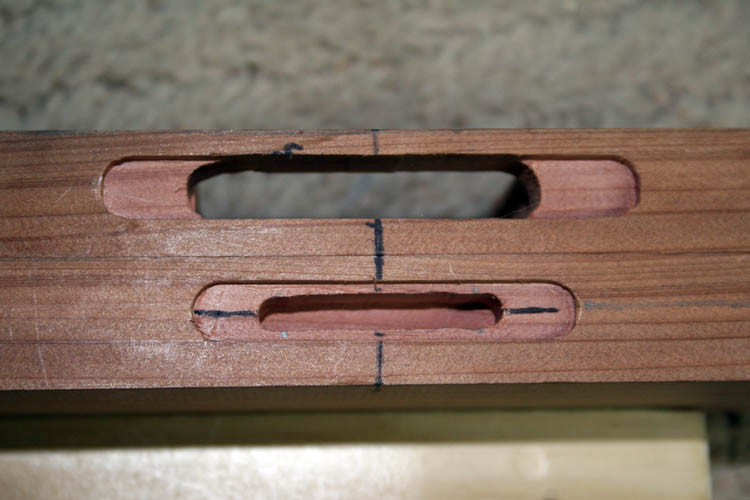
Completed mortises in the test pieces and everything worked as it should.
The mortise for the bolt to engage the striker plate looks a little ragged,
but didn't clean off the routed edges from the spiral up-cut router bit.
When the long shank router bit arrives, then the acid test for the full mortise lock jig will get
its first work out.
Web page updated by Bill aka Mickey Porter on 05-31-19.
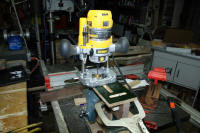
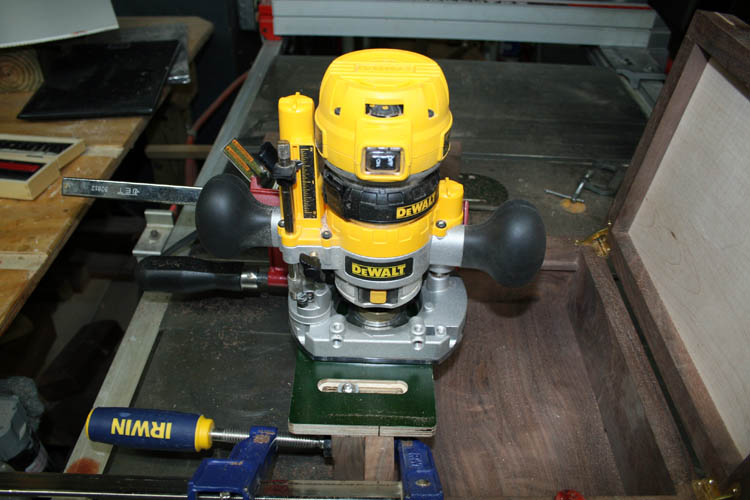
ROUTING THE BOX PROCEDURES
In usage, the jig will be resting on top of the front of the box and
clamped to the box. A center line and center mark on the box front side will
be the locator for the jig. Once the back walnut fence that is below
the jig is set to have the jig guide bushing mortise centered over the center of the box front
where the selvedge will rest, the fence is locked tight with the set screws
and the jig clamped securely to the box.
The router depth is set for the thickness of the selvedge which is about
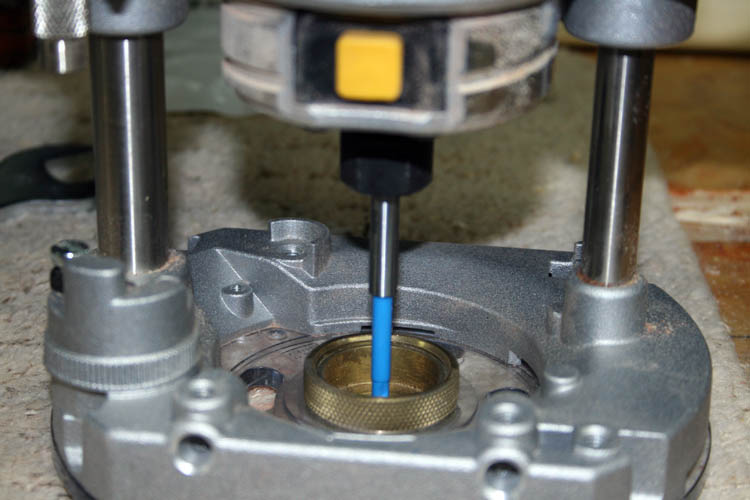
.093 inches. Using a small plunge router, DeWalt DWP611PK with 3/8 inch diameter guide
bushing and a 3/16 inch diameter router bit, route the mortise for the selvedge. Remove your clamps.

Slide the jig where the cut-out mortise in the jig for the full mortise
of the lock is centered over the selvedge and set your router depth for the
required depth of the lock being about 1.625 inches. Clamp the jig in
place to prevent any movement which will spoil your routed cavity for the
body of the lock and route the cavity aka mortise using multiple passes
until you reach the required depth. Usually 3/16 to 1/4 inch depth
passes will not load the little 1.25 HP router down or spoil the router bit.
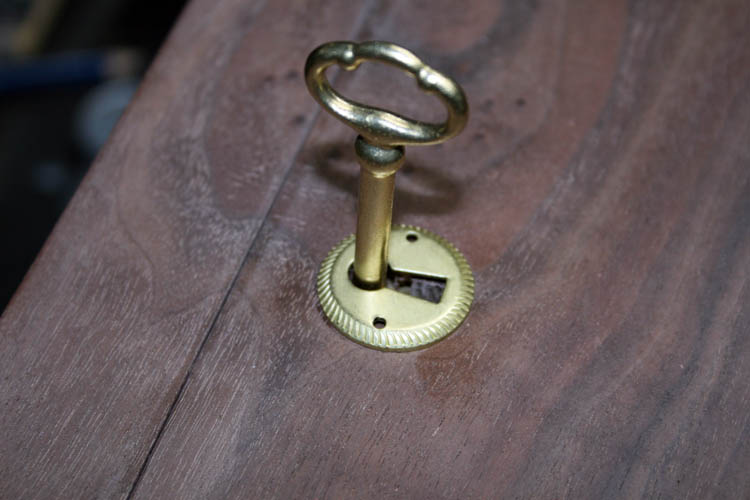
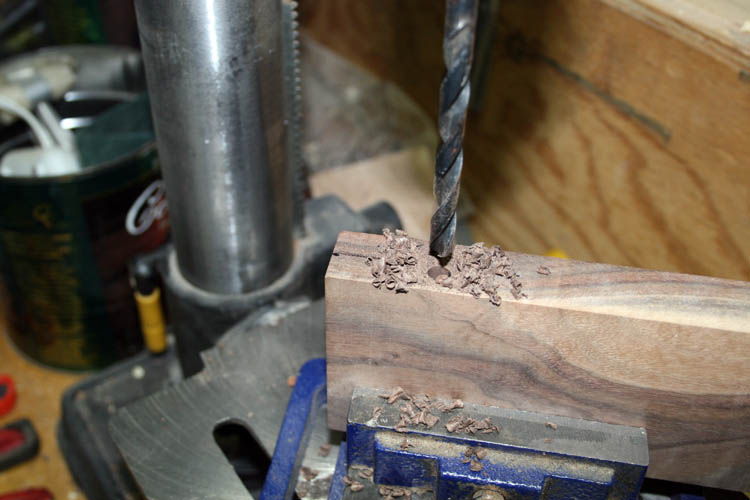
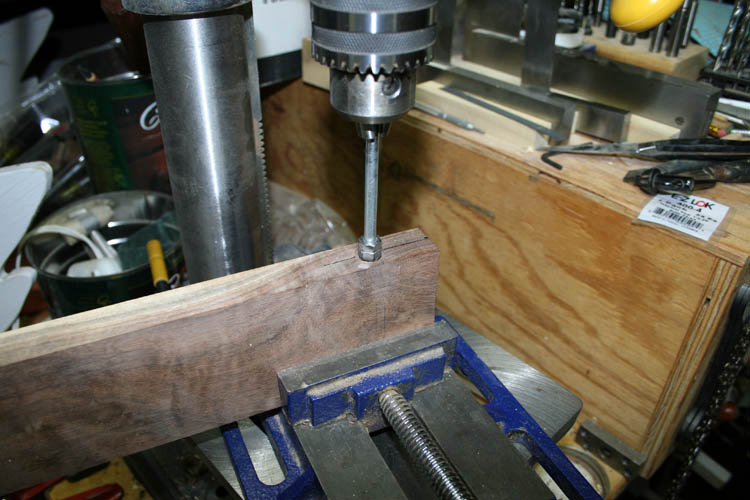
Using a 1/4 inch and 9/64 inch diameter drill bit, drill each hole using
the purple heart drill guide plate which is correctly positioned already for
the lock key way.
You later can free hand chisel or route the distance between the 1/4 inch
diameter hole and the 9/64 inch diameter hole to complete the key access to
the lock. Do not drill through the entire thickness of the box stock.
NOTE: I plan to add a steel plate (drill guide bushing) and
replace the purple heart drill guide bushing plate, but in all probably the purple
heart will last for a very long time....will wait and see on this idea!
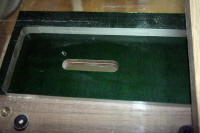
ROUTING THE LID PROCEDURES
Remove the jig from the box and position the jig onto the lid. The black
walnut fence should already be correct. Position the center of the
mortise cut-out in the jig plate over the center of where the strike plate will go and secure the jig
with clamps to prevent any jig movement. Set your router depth for the
thickness of the strike plate which is .050 inches. Complete your
routed mortise. Remove the clamps.
Loosen the two set screws and reposition the rear walnut fence, or add an
appropriate thickness filler strip where the smallest
mortise in the jig plate is centered over the strike
plate and clamp the jig in place. Set the router depth to 3/8 inch and route the
mortise for the lock bolt. Remove the jig from the box
lid.
Using a chisel or small router such as a Dremel tool, etc., remove
material between the 1/4 inch diameter hole and the 9/64 inch diameter hole
for the key access. This will be the only free hand operation for the
lock install. The holes are close enough to blend them together using
the 9/64 drill bit.
I used a Dremel and 1/8 inch solid carbide spiral cutter to fine tune the
key hole access.
Routed the mortises for the full mortise lock and the lid striker plate
and lock bolt mortise. I had to rework the drill jig plate for the key
slot and the jig plate was not properly centered to the jig plate. My
first drill holes were to the right of center line, but when corrected, the
escutcheon adequately covered the ragged looking hole which looked like a
giant Warf rat had gnawed the opening.....grin if you must!
I will install the lock and striker plate, but will leave off the
escutcheon; cover and tape the opening when I spray lacquer and drill holes
for the escutcheon pins. I will also mask over the lock selvedge plate
and strike plate also prior to spraying several coats of lacquer.
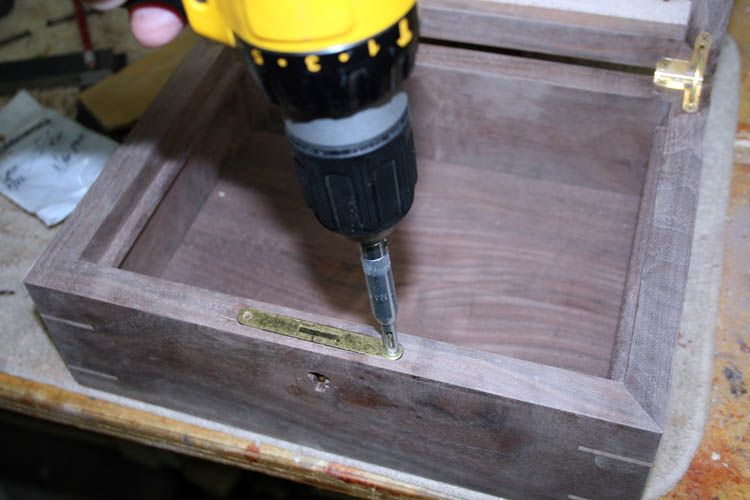
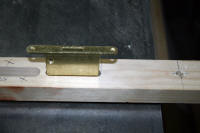
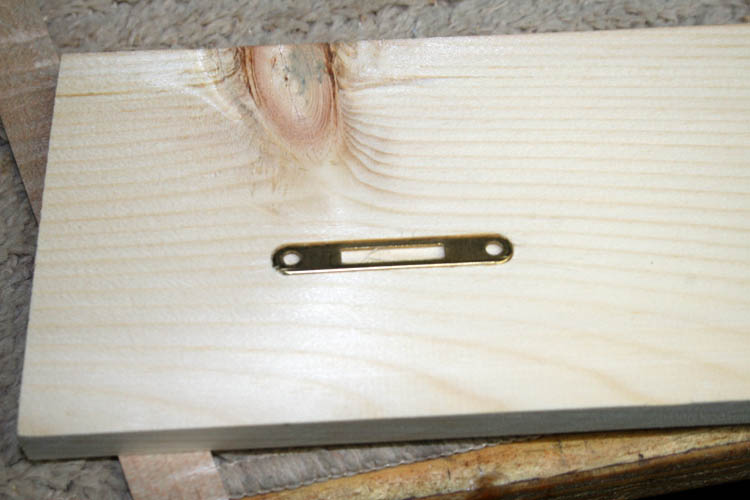
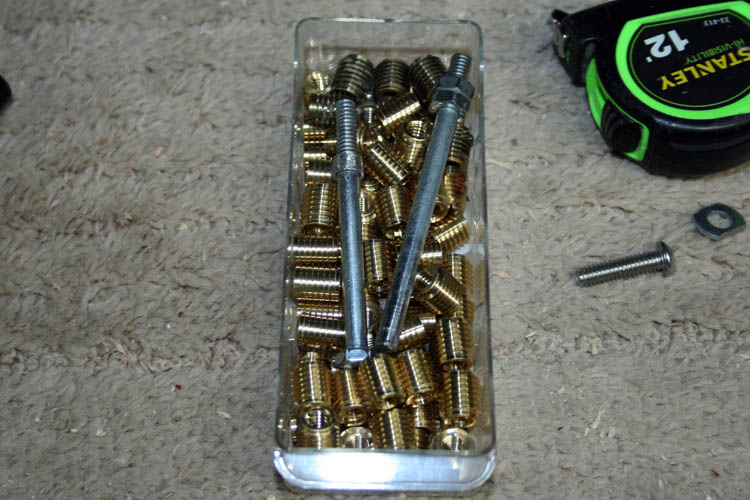
Striker plate below getting pilot holes drilled for the lock bolt to
engage.
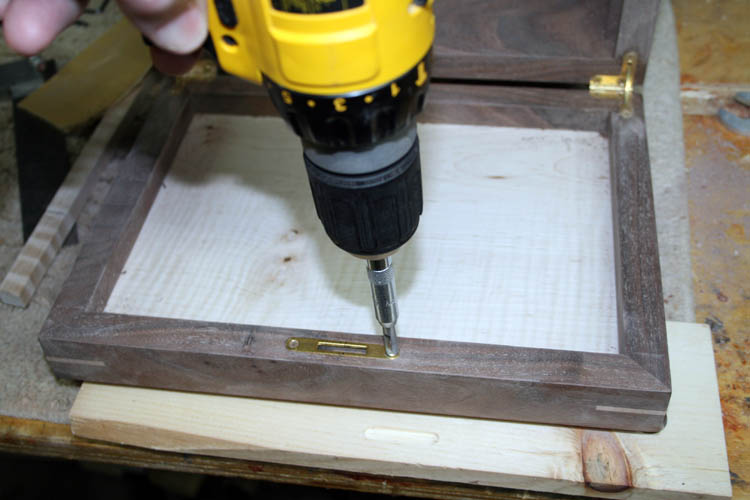
I used a Speedy 5/64 self-centering drill and then drilled the pilot
holes to 3/32 inch which gives about .010 inch grip and more than enough.
It is very easy to strip the soft brass screws even with the 5/64 inch pilot
hole in very hard wood.
In summary, the jig works
well, but with the length of the jig plate for all the mortises presents a
few clamping challenges, but clamping is doable!
The mortise for the lock body cavity needs to be reduced in width a few
thousands where the lock body mortise will not be flush with the selvedge
plate of the lock. At the moment, both the selvedge mortise and the
lock body mortise is .375 +- inches. I will simply add a piece of tape
to the mortise in the jig plate to reduce the lock body cavity mortise
width. The router guide bushing rides against the inside wall of the
mortise on the jig plate and doubt I would ever wear the tape out.
I am seriously thinking about making a Plexiglas 1/4 inch thick template
for the Rockler
Jig It jig mortise system since I already
have my mortises figured out for a 3/8 inch diameter bushing with a 3/16
inch diameter router bit. This will be another challenge due to my
equipment limitations, but I believe I can make it happen by thinking
outside the box so to speak as far as positioning the Plexiglas underneath
my mortise jig.
Web page published by Bill aka Mickey Porter on 05-27-19 and updated on
06-03-19.
REWORKED THE JIG PLATE
I glued a thin strip of maple approximately .030 to the straight side of
the jig plate mortise for the lock body and had to fine tune it by filing and
sanding it down and got an excellent fit using some scrap cedar wood to do
test mortises, etc. I also fine tuned the drill plate for the key
hole too.
Web page updated by Bill aka Mickey Porter on 06-04-19.
COMPLETED SECRETARY/LETTER BOX
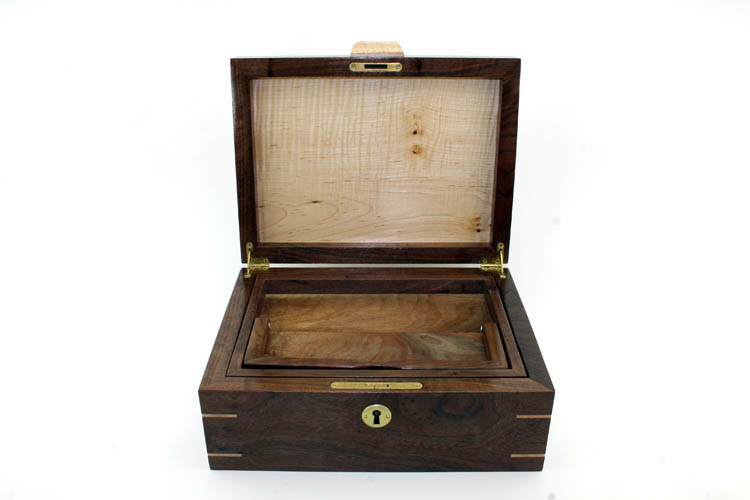
Above pix taken under a light box; doesn't' high light the wood color and
grain pattern.
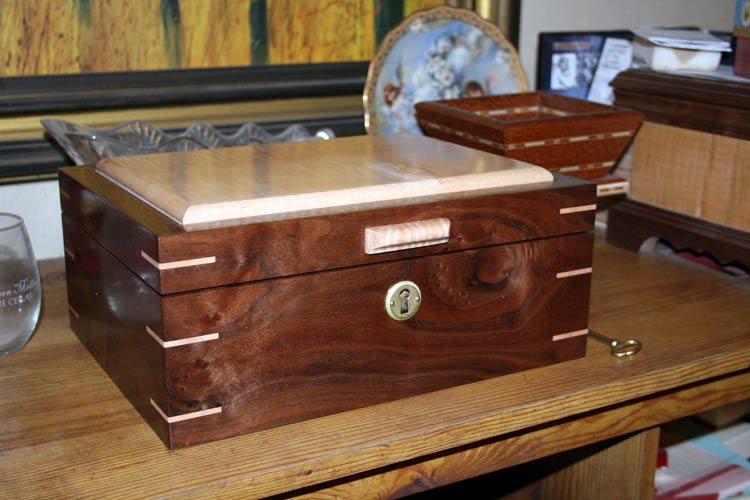
My bride is enjoying the secretary/letter box!
Web page updated by Bill aka Mickey Porter on 06-11-19.
LEAVING ON A
SPIRITUAL NOTE
If you do not know Jesus Christ as your Lord and Savior, please take
this moment to accept him by Faith into your Life, whereby Salvation
will be attained.
Ephesians 2:8 - 2:9 8 For by grace are ye saved through
faith; and that not of yourselves: [it is] the gift of God: 9 Not of
works, lest any man should boast.
Hebrews 11:1 “Now faith is the substance of things hoped for,
the evidence of things not seen.”
Romans 10:17 “So then faith cometh by hearing, and hearing by
the word of God.”
Open this
link about faith in the King James
Bible.
Romans 10:9 “That if thou shalt confess with thy mouth the
Lord Jesus, and shalt believe in thine heart that God hath raised him
from the dead, thou shalt be saved.”
Open this
link of Bible Verses About Salvation,
King James Version Bible (KJV).
Hebrews 4:12 “For the word of God is quick, and powerful, and
sharper than any two edged sword, piercing even to the dividing asunder
of soul and spirit, and of the joints and marrow, and is a discerner of
the thoughts and intents of the heart.”
Romans 6:23 “For the wages of sin is death; but the gift of
God is eternal life through Jesus Christ our Lord.”
Romans 3:23 “For all have sinned, and come short of the glory
of God;”
Micah 6:8 “He hath shewed thee, O man, what is good; and what
doth the LORD require of thee, but to do justly, and to love mercy, and
to walk humbly with thy God?”
Philippians 4:13 "I can do all things through Christ which
strengtheneth me."


